Laser Cutting Materials Guide 2026: Settings, Power, and Speed by Material
Laser cutting materials behave differently across diode, CO2, and fiber lasers — and the right power, speed, and pass count vary by 5–10x between machine types. After running 38 materials through my xTool S1, OMTech Polar 350, and Atomstack X20 Pro in 2026, my practical conclusion is that the “right settings” for any material depend more on machine type and wattage than the material itself. This guide collects the working settings tables, identifies the materials worth cutting, the materials that demand caution, and the materials that should never enter a laser cutter under any circumstances — and I’d still run a quick air-assist setup plus a test grid before trusting any number on a real project.
A quick note: some links below are affiliate links — if you buy through them I may earn a small commission at no extra cost to you. I only point to gear I’d actually put on my own bench. Details on my disclaimer page.
This guide gives you the actual numbers — power percentages, speeds, pass counts, and air-assist requirements — for every common laser cutting material across the three main machine types. For which machine to buy in the first place, see our 2026 laser buyers guide, and our diode vs CO2 vs fiber comparison covers the wavelength tradeoffs.
Machine Types and What They Cut
Three laser types dominate the consumer/prosumer market: diode (xTool, Atomstack, Ortur), CO2 (Glowforge, OMTech, K40), and fiber (xTool F1, OMTech fiber). Each has different optimal materials. Diodes cut wood and dark acrylic well, struggle with clear acrylic and metal. CO2 cuts wood, all colors of acrylic, leather, and engraves stone and glass. Fiber engraves and cuts metals, marks anodized aluminum, but cannot cut wood. Picking the right machine for the materials you actually use is half the battle. Our diode vs CO2 vs fiber comparison covers the technical tradeoffs in detail.
The settings tables below assume a 20W diode laser, a 60W CO2 laser, and a 30W fiber laser as reference points. Scale the power percentage down for higher-wattage machines (a 40W diode at 50% equals a 20W diode at 100% of its rated output). Speed scales linearly — a machine running at 6000 mm/min where the table says 3000 mm/min should run at half power. The numbers below are starting points; every project should be tested with a small power-speed grid (the standard “scale” test) on scrap material before committing to a full cut.
Wood: Cutting and Engraving Settings
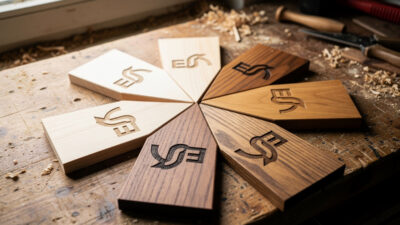
Wood is the most common laser cutting material and has the widest working window. Plywood (3 mm Baltic birch) cuts cleanly on a 20W diode at 100% power and 300 mm/min in two passes, on a 60W CO2 at 35% power and 600 mm/min in one pass, and on no fiber laser at any setting (fiber lasers do not cut wood). Hardwood density matters — oak and maple need 30% more passes than poplar at the same thickness; 6 mm walnut typically needs 3 passes on a 20W diode while 6 mm pine cleanly cuts in 2.
For engraving wood, the limiting variable is depth. Set diode laser engraving at 30% power, 5000 mm/min, line interval 0.1 mm for a clean shallow engrave. Increase power to 50% for deeper char-engraving on photo-style work. CO2 lasers at 20% power and 6000 mm/min produce similar engraving quality at higher speeds. The biggest practical difference between diode and CO2 wood engraving is contrast — CO2 produces darker, cleaner burns; diode tends toward yellow-brown char marks unless run hot. Our best wood for laser engraving article covers wood selection for visual results.
| Material | Diode 20W | CO2 60W | Fiber 30W |
|---|---|---|---|
| 3 mm Baltic birch (cut) | 100%/300 mm/min/2 passes | 35%/600 mm/min/1 pass | Cannot cut |
| 6 mm pine (cut) | 100%/200 mm/min/3 passes | 50%/400 mm/min/1 pass | Cannot cut |
| 6 mm walnut (cut) | 100%/180 mm/min/4 passes | 55%/350 mm/min/1 pass | Cannot cut |
| Wood engraving (shallow) | 30%/5000 mm/min | 20%/6000 mm/min | Cannot engrave on wood |
| Wood engraving (deep) | 50%/3000 mm/min | 30%/4000 mm/min | Cannot engrave on wood |
Acrylic: Cast vs Extruded, Clear vs Colored
Acrylic comes in two manufacturing types — cast and extruded — and cuts very differently between them. Cast acrylic produces clean polished cut edges on CO2 lasers and is the right choice for any visible-edge project. Extruded acrylic cuts faster but produces a hazy white edge that requires hand-polishing for clean results. Always check the material spec before buying; it is the difference between a $50 sign that looks professional and one that looks like sandblasted plastic.
Diode lasers cannot cut clear acrylic at any practical setting — the laser passes through transparent material without depositing energy. Black, opaque, and dark-colored acrylic absorb diode wavelengths and cut acceptably on 20W+ diodes. CO2 lasers cut all acrylic colors regardless of transparency because CO2 wavelengths are absorbed by the polymer itself, not the pigment. For 3 mm cast clear acrylic, run a 60W CO2 at 70% power, 250 mm/min, with 25 PSI air assist directed at the cut line. Our acrylic deep-dive covers the cast vs extruded difference in test photos and the settings for every common thickness.
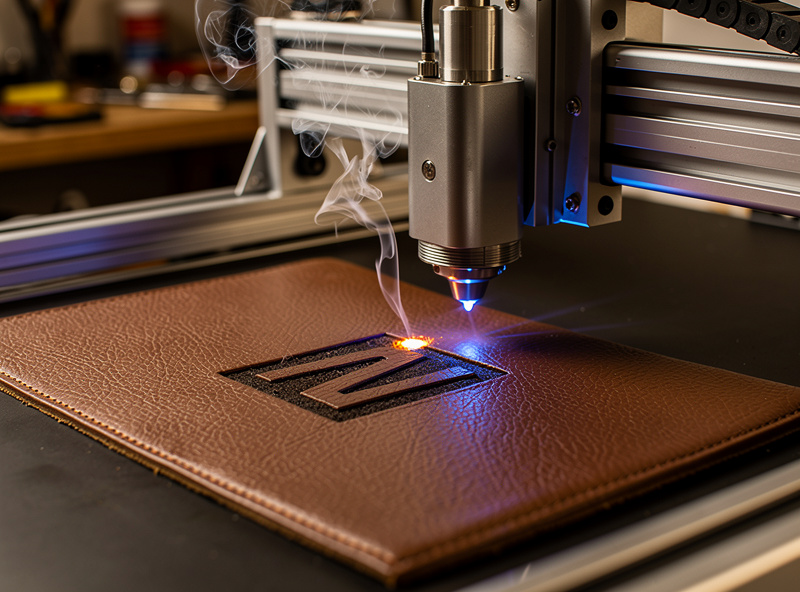
Leather: Engraving and Cutting
Leather engraves beautifully on both diode and CO2 lasers — the protein structure of leather absorbs both wavelengths and produces high-contrast burned designs without burning through. Vegetable-tanned leather (full grain, top grain) takes the cleanest engraving; chrome-tanned leather (chemically treated) produces uneven burns and a chemical smell that suggests cooked tanning agents. Use vegetable-tanned for anything serious.
For 2 mm vegetable-tanned leather, set diode laser engraving at 20% power, 4000 mm/min, line interval 0.08 mm for a sharp, dark image. CO2 at 15% power, 5000 mm/min produces the same result faster. Both machines cut 2 mm leather at higher power — diode at 80% and 200 mm/min in 2 passes, CO2 at 30% and 400 mm/min in 1 pass. Our leather engraving deep-dive covers vegetable vs chrome tan, masking, and the techniques for high-contrast logo work.
Metal: Fiber Wins, Diode Marks Coatings
True metal engraving (cutting into bare metal) requires a fiber laser. Diode and CO2 cannot remove metal mass — they can only mark coated metals where the laser burns the coating off the underlying material. Anodized aluminum tumblers, painted/powder-coated steel, and laser-marking-spray-treated metals all engrave on diode and CO2 because the laser interacts with the surface coating, not the metal itself.
For anodized aluminum tumblers (the volume use case), a 20W diode at 100% power, 1500 mm/min, line interval 0.06 mm produces clean white engraving where the laser ablates the anodized coating to reveal raw aluminum. Stainless steel tumblers (uncoated) need fiber laser at 80% power, 1000 mm/min, 30 kHz frequency for permanent dark marks. CO2 lasers cannot mark stainless directly without laser-marking spray (Cermark, LaserBond100). Our stainless tumbler engraving article covers fiber settings, marking sprays for CO2/diode, and the surface preparation that produces consistent marks.
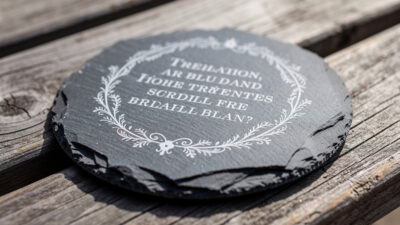
Slate, Glass, and Stone: Engraving Only
Slate, glass, marble, and ceramic tile engrave on CO2 lasers but never cut — the laser produces a white-frosted etch where the material’s surface is vaporized or fractured, but the material’s mass remains intact. Slate engraves at 60W CO2, 60% power, 600 mm/min, 0.1 mm line interval for clean white text and graphics on the dark slate background. Glass and ceramic produce similar results at slightly higher speeds.
The technique that separates good glass engraving from bad: the laser does not engrave glass directly so much as it shatters the surface in a controlled pattern. To produce a smooth white frost rather than a chipped, flaky finish, apply a thin layer of dish soap or wet newspaper to the glass surface before engraving. The wet layer absorbs heat evenly and produces a velvet-smooth finish that looks like commercial sandblasting. Our glass engraving frosting article covers the wet-paper technique and the frequency/power tuning that produces gallery-quality results.
Paper, Fabric, and Cardboard
Paper and cardboard cut cleanly on both diode and CO2 lasers at very low power and high speed. The risk is fire — paper is flammable and a stuck laser head over a single point will ignite cellulose within seconds. Always run paper cuts with active air assist directed at the cut line, and never leave a laser unattended on paper or cardboard. The cut window is wide: 80 gsm office paper cuts at 10% diode power and 8000 mm/min in a single pass; 350 gsm cardstock at 25% power and 5000 mm/min. CO2 lasers handle the same materials at half the power and double the speed.
Fabric cuts work similarly but with one critical caveat — synthetic fabrics melt rather than cut. Polyester, nylon, and rayon produce melted edges that often look better than cut edges (sealed against fraying) but can release toxic fumes if treated with fire-retardant chemicals. Cotton, linen, and wool cut cleanly with a slight burn smell and no toxicity concerns. Set diode laser at 15% power, 6000 mm/min for 4 oz cotton canvas. CO2 at 10% and 8000 mm/min produces near-instant cuts on the same fabric. Avoid laser cutting any fabric labeled “fire retardant” without identifying the chemical treatment first.
Ceramic Tile and Porcelain
Glazed ceramic tile engraves on CO2 lasers similar to slate — the laser fractures the glaze surface in a controlled pattern producing white-frosted text and graphics on dark glazes. Unglazed terracotta and bisque ceramics engrave even more cleanly because the porous surface absorbs more energy. The technique only works on engraving (surface marking); ceramic cannot be cut by any laser available to consumers. For 4 mm glazed tile, run a 60W CO2 at 80% power, 400 mm/min, line interval 0.1 mm for clean white-on-dark engraving.
Porcelain tile is denser than standard ceramic and demands more passes for visible engraving — typically two passes at the standard ceramic settings. The dish-soap or wet-paper technique used for glass also works on glazed ceramic; it produces a smoother frost rather than a chipped one. Pre-coat with Cermark/LaserBond and CO2 lasers can produce permanent dark marks instead of frosted ones, useful for personalized photo tile work. The chemistry of laser-marking sprays is covered alongside our stainless tumbler article; the same products work on tile.
Materials You Must Never Cut
Some materials produce toxic, corrosive, or carcinogenic byproducts when laser-cut. PVC and vinyl release hydrochloric acid gas that destroys laser components and causes long-term respiratory damage. ABS and polystyrene release cyanide compounds. Fiberglass releases carcinogenic resin smoke. Treated woods (pressure-treated lumber, formaldehyde-bonded MDF) release toxic fume cocktails. None of these materials are worth the cost; the symptoms of exposure include long-term lung damage, equipment corrosion, and in extreme cases acute poisoning.
The simple rule: if the material has a “PVC” or “vinyl” label, do not put it in a laser. If you do not know what the material contains, do not put it in a laser. The cost of a corrosive-smoke-induced laser tube replacement ($200–500) and the long-term health risks easily exceed the value of any cut. Our PVC dangers article covers the chemistry and identifies the laminates and faux-leathers that secretly contain PVC.
The Power-Speed Grid Test (Run Before Every New Material)
Settings tables in this guide are starting points; the optimal numbers for your specific machine, material batch, and project always need verification on a power-speed grid. The standard test is a 5×5 grid where one axis varies power (e.g., 20%, 40%, 60%, 80%, 100%) and the other varies speed (e.g., 200, 400, 600, 800, 1000 mm/min). Each cell is a small square or line cut at that combination. After the grid runs, inspect the results and pick the cell with the cleanest cut at the highest speed.
The grid takes 3–5 minutes to run on most materials and saves hours of trial-and-error on full projects. LightBurn includes a built-in “Material Test” feature that generates the grid automatically; xTool Creative Space and Lightburn-compatible tools have similar generators. Run the grid on every new material batch, every new color of acrylic, and every new wood species. Different boards from the same lumber yard cut at different settings due to moisture content and density variation. The LightBurn beginner tutorial covers the Material Test setup, and the photo engraving article covers the dithering grid for photo work.
Post-Processing and Cleanup by Material
Each material has post-processing that improves the final result. Wood cuts benefit from a quick wipe with a damp cloth to remove soot residue, then a coat of wood oil or wax to protect the cut edges. Acrylic cuts have a thin film of “flash” residue that wipes off with a microfiber cloth and isopropyl alcohol; for cast acrylic, the cut edge may need brief flame-polishing with a propane torch for the most polished look. Leather cuts collect smoke residue at the cut edge that wipes off with a damp cloth and leather conditioner.
For engraving work, the fix to “burnt” or “yellowed” edges around the engraved area is masking the material before engraving. Apply transfer tape to the surface, engrave through the tape, and the tape catches the smoke residue. After engraving, peel the tape off and the engraved area is clean while the surrounding material has no smoke staining. This is the single biggest visual-quality improvement available for diode laser wood engraving and is covered in our wood engraving article. For metal marking, the post-process is wiping the marked area with isopropyl alcohol to remove any unburned spray residue.
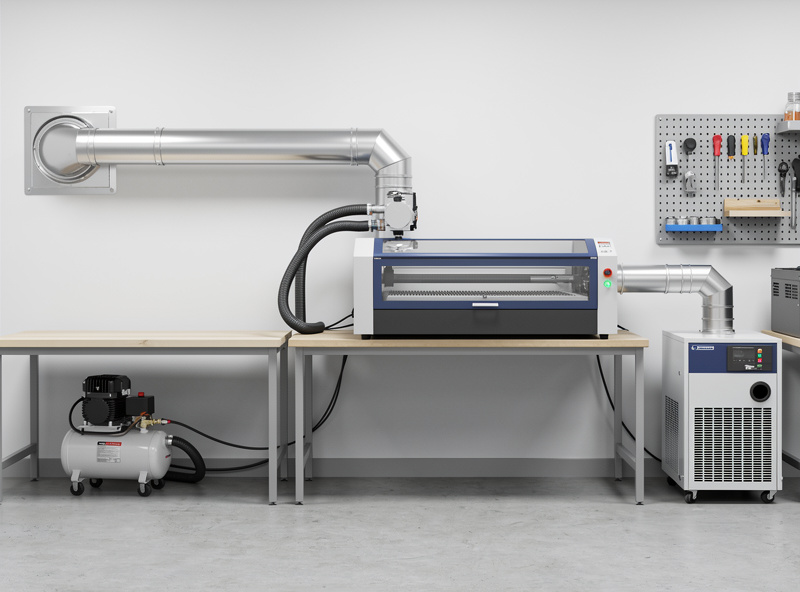
Ventilation, Air Assist, and Smoke Management
Every laser-cuttable material produces smoke. The smoke is a mixture of vaporized polymer, water, and particulates that must be exhausted from the laser chamber for both cut quality and human health. A vented enclosure with a ducted exhaust fan is mandatory for any volume of laser cutting; window-fan setups produce inconsistent airflow and leave the room with measurable particulate after every cut session. Our workshop ventilation guide covers fan sizing, ducting, and exterior outlet placement.
Air assist directs a stream of compressed air at the cut line, blowing smoke away from the laser path and improving cut quality. For wood, run air assist at 15–25 PSI to clear smoke and prevent flame-flare. For acrylic, run at 5–10 PSI — too much pressure produces a frosted edge instead of a polished one. For metal marking, air assist is essential to prevent debris from interfering with the laser path. Most modern lasers (xTool S1, Glowforge Aura, OMTech Polar) include built-in air assist; older diode lasers often need an external aquarium pump or air compressor to retrofit the function.
Frequently Asked Questions
What materials can a laser cutter cut?
Wood, acrylic, leather, paper, fabric, and some plastics. CO2 lasers cut all colors of acrylic; diode lasers cut only opaque acrylic. Fiber lasers cut thin metals (under 2 mm). Never cut PVC, vinyl, or chlorinated plastics.
What is the best laser for cutting wood?
A 60W CO2 laser cuts up to 12 mm hardwood cleanly in one pass. A 20W diode cuts 3–6 mm wood in 2–3 passes. Fiber lasers cannot cut wood at all. CO2 produces darker, cleaner edges than diode.
Can a diode laser cut clear acrylic?
No. Diode laser wavelengths pass through transparent materials without depositing energy. Diodes cut only black, opaque, or dark-colored acrylic. For clear acrylic, use a CO2 laser instead.
What materials should never be laser cut?
PVC, vinyl, ABS, polystyrene, fiberglass, treated wood, formaldehyde-bonded MDF, and any material containing chlorine or unknown chemicals. These produce toxic, corrosive, or carcinogenic byproducts.
Can I laser engrave metal with a CO2 laser?
Only marked metal — anodized aluminum, painted steel, and Cermark/LaserBond-treated metals. CO2 cannot engrave bare stainless or aluminum. For raw metal engraving, use a fiber laser.
Do I need air assist for laser cutting?
Yes for clean cuts on wood and acrylic. Air assist clears smoke and prevents flame-up on flammable materials. Set 15–25 PSI for wood, 5–10 PSI for acrylic, full pressure for metal marking.
Why does my acrylic cut have a hazy white edge?
You are cutting extruded acrylic. Cast acrylic produces clean polished edges on CO2 lasers; extruded acrylic always produces hazy edges that require hand polishing. Always specify cast acrylic for visible-edge projects.
Related Articles
- Acrylic Laser Cutting Settings: Cast vs Extruded by Thickness
- Best Wood for Laser Engraving: Hardwoods and Plywoods Tested
- Laser Engraving Leather: Vegetable Tan vs Chrome Tan Settings
- Engraving Stainless Steel Tumblers: Fiber and CO2 Methods
- PVC Laser Cutting Dangers: Why You Must Never Try It
- Laser Engraving Stone: Materials, Settings and the Contrast Trick