Rotary Laser Engraving Guide: Cylinders, Settings and Fixes
Rotary laser engraving wraps your design around a cylinder by spinning the object under a fixed laser head instead of moving the head across a flat sheet. Get one number right — the object’s true diameter — and a tumbler, glass, or ring engraves in proportion. Get it wrong and your logo stretches or squashes every single time.
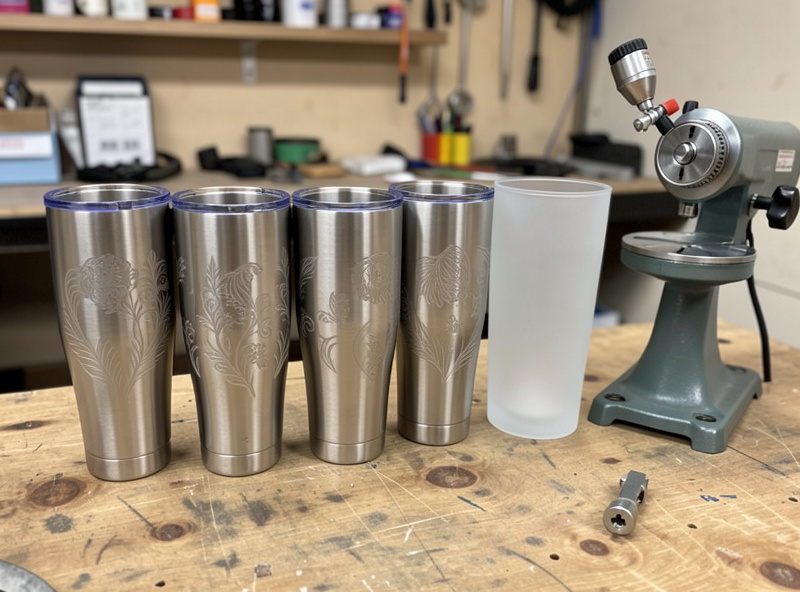
I run a rotary across three machine classes on my bench — the enclosed xTool S1 diode for wood and coated drinkware, the OMTech Polar 350 CO2 for glass and acrylic, and a desktop fiber marker for bare metal. The rotary itself is the same idea on all of them: replace the Y axis with a turning roller or chuck, tell the software the object’s size, and let the cylinder do the moving. This guide is the map. Each section links to a deeper walkthrough so you can jump straight to tumblers, glasses, rings, or the distortion fix you came here for.
What a rotary actually does
A rotary attachment swaps your laser’s flat Y travel for rotation: the head still scans left-to-right (X), but each new line down the image rolls the object a tiny fraction of a turn. One full image equals one calculated set of rotations. That is the entire trick, and it is also where every beginner mistake lives.
On a flat job, LightBurn knows exactly how far 1 mm of Y movement travels — 1 mm. On a rotary, 1 mm of “Y” is actually a slice of the object’s circumference, and circumference depends entirely on diameter. A 73 mm tumbler and a 30 mm wine bottle neck need wildly different rotation per line. Tell the software the wrong diameter and the image still engraves — it just comes out the wrong height. That is why I treat diameter as the single most important input on any rotary job, and why there is a whole diameter and circumference settings guide dedicated to getting it right.
Roller, chuck, or ring — pick the right rotary
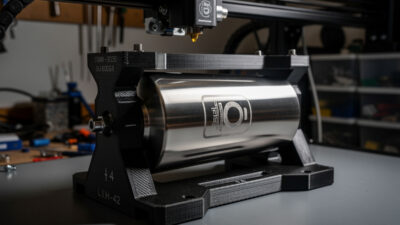
There are three rotary styles and they are not interchangeable. A roller rotary spins the object on two parallel rollers and suits straight-walled tumblers and bottles. A chuck rotary grips one end like a lathe and is the only sane choice for tapered cups, rings, and pens. A ring/jaw fixture is a specialised chuck for tiny diameters. Most jobs I run land on the roller; anything tapered or under about 25 mm goes on the chuck.
The trap with rollers is that they reference the outside surface, so any taper means the top and bottom of the object travel different distances per turn — that is the classic source of slanted text. A chuck references the rotation axis instead, so a taper just tilts the surface rather than distorting the image. I dig into exactly when each one wins in the chuck vs roller comparison, and the hardware itself — mounts, jaw sets, load ratings — is covered in my rotary attachment hardware guide.
| Rotary type | Best for | Diameter range | Taper handling | Watch out for |
|---|---|---|---|---|
| Roller | Straight tumblers, bottles, mugs | ~30–120 mm | Poor — tapers slant | Slip on glossy surfaces |
| Chuck | Tapered cups, pens, rings, odd shapes | ~5–90 mm | Excellent — axis-referenced | Needs careful centering |
| Ring / jaw fixture | Rings, thimbles, tiny cylinders | ~3–25 mm | Excellent | Tiny focus margin |
As an Amazon Associate I earn from qualifying purchases. If you are buying your first attachment, search a laser rotary roller and chuck attachment set rather than a roller-only unit — you will want the chuck the first time a tapered cup lands on your bench.
The setting that breaks every rotary job: object diameter
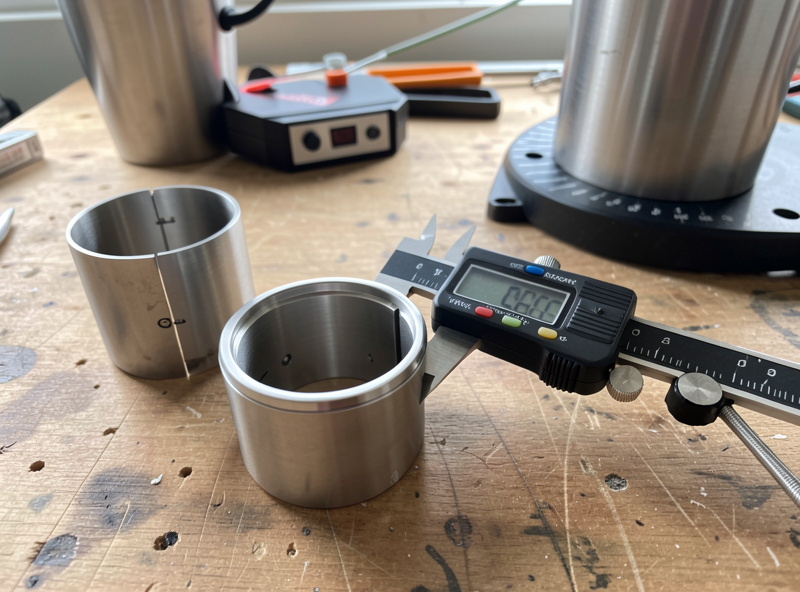
Before a rotary will engrave to scale, LightBurn needs the object’s diameter and your rotary’s steps-per-rotation. The diameter you measure with calipers across the exact band you are engraving — not the rim, not the base, the band. On a 20 oz tumbler that is usually around 88 mm at the belly and 73 mm up top, and using the wrong one stretches a 50 mm-tall logo by several millimetres.
The fix is a test pass and a tape measure, every time. I engrave a known square — say 40 × 40 mm — on masking tape on the actual object, measure what came out, and correct the diameter by the ratio. If the square measures 44 mm tall, my entered diameter was 10% too small. The full method, including roller-circumference mode versus steps-per-rotation mode, is in the diameter and circumference settings walkthrough, and the software side — enabling the rotary, choosing roller vs chuck mode — is in my LightBurn rotary setup guide. LightBurn’s own rotary documentation is the vendor reference for the same panel.
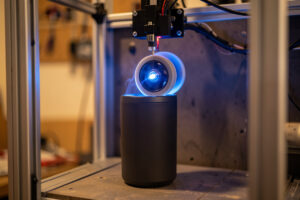
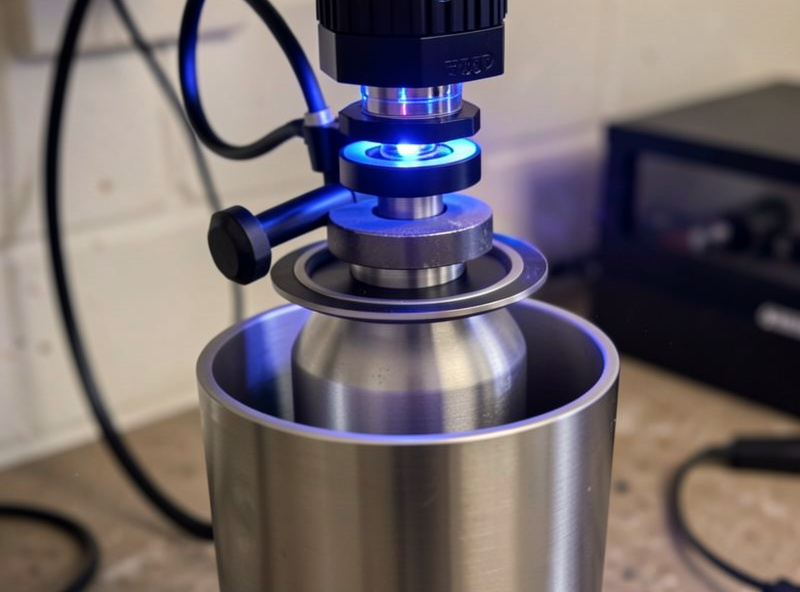
Focusing on a curved surface
A cylinder only presents one in-focus line: the very top of the curve, directly under the lens. Everything that falls away to the sides sits progressively below focus, which softens the engrave and is a real limit on how wide a single pass can be. I focus to the top dead-centre of the object with a focus gauge or the machine’s auto-focus, never by eye, and I keep the engrave band reasonably narrow on small-diameter parts.
On the xTool S1 I let the contact auto-focus set height off the top of the cup; on the CO2 Polar I drop the bed and use the focus puck against the crown of the glass. The narrower the object, the more aggressively the surface curves away from focus, which is one reason rings and pens want a chuck and a tight design width rather than a wrap-around mural. When a wide wrap comes out sharp in the middle and fuzzy at the edges, that is a focus-falloff problem, not a power problem — I cover that and other artefacts in the rotary distortion fix guide.
Materials: tumblers, glass, rings, and leather wraps
The rotary is just the motion system — the material still decides the machine and the settings. Powder-coated and painted tumblers engrave beautifully on a diode because the blue light couples into the coating; bare stainless needs a fiber marker or a marking spray. Glass wants a CO2 laser and a controlled fracture, not a deep cut. Rings and bare metal cylinders are fiber territory. Leather wraps engrave on the diode like any veg-tan panel.
For coated drinkware the workflow is the same regardless of cup brand: run a materials test card on a sacrificial cup first, because powder-coat thickness varies by lot and the power that strips one cleanly will scorch the next. My full powder-coat-and-stainless routine lives in the tumbler engraving guide, and the bare-stainless Cermark method is broken out in engraving stainless steel tumblers. For round drinkware — pint glasses, wine bottles, stemware — the curvature and the “frost not cut” physics are covered in engraving glasses and bottles on a rotary, which builds on the flat-glass frost technique. Tiny parts — rings, bands, small cylinders — have their own mechanics in ring and small cylinder engraving, with the fiber-jewelry deep dive in my rings and jewelry fiber guide.
One hard line that never bends on the rotary or anywhere else: never run vinyl, PVC, or unknown coated stock. A mystery-coated promotional tumbler can be PVC-wrapped, and lasering it releases chlorine gas that corrodes your machine and damages your lungs. If I cannot identify a coating, it does not go on the bench until I have tested a scrap and confirmed what it is.
Air assist, fume, and the rule I never break
A rotary changes the geometry but not the hazards. Air assist runs on every cut and engrave, full stop — it clears smoke off the lens and starves flare-ups before they become flames. On drinkware that means aiming the nozzle at the engrave line as the cup turns, and on tall bottles it means checking the nozzle still clears the object through a full rotation before I hit start.
Extraction has to be ducted to outside, not recirculated into the room and not a box fan in a window. Engraving coated metal and painted drinkware outgasses, and a charcoal-polished, ducted exhaust is the difference between a clean session and a headache. The extinguisher and fire blanket stay within arm’s reach. And the rule I will not soften for anyone: I never leave a running laser unattended. A cup that slips on the rollers and stops turning will sit under a stationary beam and ignite — that is a genuine fire risk, not a hypothetical, and the only defence is being there to hit stop. OSHA’s laser hazard guidance lists unattended operation and fume exposure as the recurring failure points for exactly this reason.
My rotary workflow, start to finish
Every rotary job on my bench follows the same order, and the order is what keeps the failure rate near zero. Skip a step and you find out at the end, on a ruined cup.
- Identify the material and pick the machine class — diode for coated, CO2 for glass, fiber for bare metal. Confirm it is not PVC or unknown stock.
- Mount the object on the right rotary — roller for straight walls, chuck for taper or small diameter — and level it so it turns true without wobble.
- Measure the diameter with calipers across the exact engrave band and enter it in LightBurn’s rotary settings.
- Focus to top dead-centre of the curve with a gauge, never by eye.
- Run a materials test card on a sacrificial part to lock power, speed, and line interval for this lot.
- Frame the job and watch a full rotation in preview to confirm the nozzle and object clear each other the whole way around.
- Engrave with air assist on, standing right there, extractor running.
- Inspect, then seal or clean as the material needs — a wipe for coated metal, a sealant pass for leather.
That sequence holds whether I am marking a single ring or a batch of twenty tumblers. The deeper guides below each take one of these steps and expand it into a full walkthrough — start with whichever job is on your bench today.
Diode, CO2, or fiber: matching the machine to the cylinder
The right-machine-for-the-material call is the through-line of every rotary job, because the rotary only handles motion — the beam still has to couple with the surface. A diode puts out blue light around 450 nm that coatings, wood, and leather absorb readily, which is why it strips a powder-coated tumbler beautifully but does almost nothing to clear glass: the light passes straight through. A CO2 tube emits far-infrared at 10.6 µm, which glass and acrylic absorb strongly, so the Polar frosts a pint glass cleanly where the diode just shines through it.
Fiber sits at roughly 1.06 µm and couples into bare metal, which neither the diode nor the CO2 can mark meaningfully. That is the whole reason I keep three machine classes on the bench rather than defending one box: a bare steel ring goes on the fiber, a frosted wine bottle goes on the CO2, a coated tumbler or a leather wrap goes on the diode. When someone tells me their diode “won’t engrave glass,” the machine is working perfectly — it is the wrong tool for that material, and no setting change will fix a wavelength mismatch.
Masking, sealing, and finishing wrapped objects
A clean wrap is half technique and half finishing. On wood and leather cylinders, a layer of masking tape over the surface before engraving catches the smoke residue so the scorch halo lifts off with the tape instead of staining the surrounding grain — the same masking-tape transfer trick I use on flat work translates straight to a rotary. On coated drinkware the engrave exposes bare steel, so there is nothing to seal, but a wipe of isopropyl removes the soot and leaves a crisp mark.
Leather wraps are the one material that genuinely wants sealing afterward, because the engrave opens the surface; a light finish or wax keeps the burnished line from picking up grime. That leather crossover is the same veg-tan-versus-chrome-tan behaviour I deal with on the leathercraft side of the bench, and it is a real example of one laser serving several niches. Whatever the surface, I inspect the finished wrap under a strong raking light before it leaves the bench, because a mark that looked even on a test swatch can read differently across a full 360-degree turn.
Batch work: engraving matching cylinders in production
Once a single cup works, the next question is always twenty of them looking identical. Repeatability on a rotary comes from fixturing and discipline, not speed. I set a hard stop or a reference mark so every object loads to the same position, keep the diameter and focus locked once a lot is dialled, and run the same materials test card at the start of each new lot rather than trusting the last batch — coating thickness drifts between production runs and the power that stripped yesterday’s cups can scorch today’s.
For odd shapes that will not sit consistently, a simple printed cradle solves it; this is exactly where the 3D-printed jigs from the rest of the workshop ride alongside the laser, holding a part square so every piece in the batch lands the same. The discipline that makes batch work reliable is boring on purpose: same load position, same numbers, fresh test card per lot, and a check of the first finished piece before committing the rest of the run.
The rotary mistakes I see most often
A handful of errors account for nearly every ruined cylinder. Entering the wrong diameter, or measuring the rim instead of the engrave band, tops the list and shows up as a stretched logo. Running a tapered cup on a roller and blaming the software for slanted text is second — that is geometry, and the fix is a chuck, not a setting. Eyeballing focus on a curved surface instead of using a gauge gives soft, uneven results that look like a power problem but are not.
The rest are mechanical: a glossy object slipping on dirty rollers, a small part mounted off-centre so it wobbles in and out of focus, and the roller diameter left wrong so every job scales off by the same factor. Each of these has a clean diagnosis once you can read the symptom, which is why I keep the distortion fix guide close — most “the rotary is broken” problems are one of these six, and a 40 mm test square on tape tells you which one in under a minute.
Wrapping photos and complex artwork around a cylinder
Text and line-art wrap easily, but photos on a curved surface are their own discipline. A photo is a raster engrave, so it relies on line interval and dithering to fake grey tones from a beam that is only ever on or off. On a rotary the rotation direction has to hold a consistent line interval all the way around, which means the diameter has to be dead-on or the image bands and smears as the spacing drifts — a photo punishes a scaling error far more visibly than a logo does.
I prep the image the same way I would for flat work — crop, raise contrast, and pick a dithering algorithm suited to the material — then test it on a scrap of the same stock, because a dithering pattern that reads cleanly on wood looks muddy on coated metal. My breakdown of the algorithms lives in the photo engraving in LightBurn guide, and the rule on a rotary is to keep the photo within the in-focus band: a tall portrait wrapped around a narrow cup will be sharp at the crown and soft where the surface falls away, so I size photo work to the part rather than forcing a big image onto a small diameter. Get the diameter exact, keep the design inside the focus zone, and a rotary handles a photographic engrave as cleanly as any flat job.
Explore the Rotary Cluster
This hub links to every rotary and cylindrical engraving walkthrough on the site:
- How to Engrave Tumblers on a Laser Rotary
- Engraving Pint Glasses and Bottles on a Rotary
- Chuck vs Roller Rotary: Which to Use
- Diameter and Circumference Settings for Rotary
- Ring and Small Cylinder Laser Engraving
- Fixing Image Distortion on a Rotary
- LightBurn Rotary Setup: Roller, Chuck, and RA2 Pro
- Rotary Attachment Hardware Guide
Frequently Asked Questions
Do I need a special laser for rotary engraving?
No. A rotary attachment plugs into your existing diode, CO2, or fiber laser, usually into the Y-axis port. The machine class still has to match the material though: diode for coated drinkware, CO2 for glass, fiber for bare metal.
Why is my rotary engraving stretched or squashed?
The object diameter entered in your software is wrong. Measure with calipers across the exact engrave band, run a known test square on tape, and correct the diameter by the ratio of intended height to measured height.
Should I use a roller or a chuck rotary?
Use a roller for straight-walled tumblers and bottles, and a chuck for anything tapered, very small, or oddly shaped like pens and rings. Rollers reference the outer surface, so tapers slant the image; chucks reference the rotation axis and avoid that.
How do I focus a laser on a curved surface?
Focus to the top dead-centre of the curve, directly under the lens, using a focus gauge or auto-focus rather than by eye. Keep the engrave band narrow on small-diameter parts, because the surface falls below focus as it curves away.
Can I engrave glass tumblers with a diode laser?
Diodes struggle on clear glass because the blue light passes through rather than coupling. A CO2 laser frosts glass cleanly. On a diode, a thermal coating or paint layer on the glass is the usual workaround, and the result is frosted, not cut.
Is it safe to leave a rotary job running unattended?
Never. A cup can slip on the rollers and stop turning, leaving a stationary beam on one spot until it ignites. Run air assist on every job, keep an extinguisher within reach, and stay with the machine the entire time it is running.