Laser-Engraved Tumbler: The Full Rotary Build
A laser-engraved tumbler is a full project, not a settings tweak: you design a wrapped layout, fixture the cylinder on a rotary, run the engrave, and finish the mark. It is the project everyone wants and the one that needs gear most beginners do not have yet — a rotary attachment and, for bare stainless, a fiber marker. Get the wrap, the rotary setup, and the finishing right and a plain powder-coated tumbler becomes a clean personalised piece.
This build walks the whole job end to end. For the raw power-and-speed numbers on stainless I point to the dedicated stainless tumbler settings guide rather than repeating them here — this article is about the project workflow around those settings. It sits at the advanced end of the laser project ideas hub because the rotary fixturing is a genuine new skill.
Which Machine and Coating You Need
Tumblers are engraved two ways: a powder-coated or painted tumbler can be marked on a diode or CO2 to reveal the metal beneath, while bare stainless needs a fiber marker or a marking spray like Cermark. Either approach requires a rotary attachment to spin the cylinder so the engrave wraps evenly around the curve.
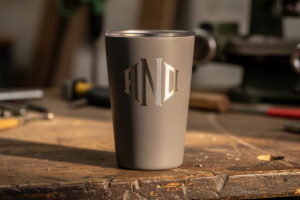
The most common and beginner-friendly tumbler is powder-coated stainless: the laser ablates the coating to reveal the bright metal underneath, giving a crisp two-tone mark that a diode handles well. For a bare stainless tumbler with no coating, a diode cannot mark the metal directly — you either apply a marking spray that bonds to the steel under the beam, or you use a fiber marker, which marks and anneals stainless natively. This is the same right-machine-for-the-material logic as the rest of the site; the best fiber laser for metal comparison covers the marker side, and the broader diode vs CO2 vs fiber piece explains why metal marking is a fiber’s home turf. Whichever path, the rotary is non-negotiable — without it you can only engrave a flat patch on the side, not a wrapped design.
Designing a Wrapped Layout
Design the artwork as a flat layout that will wrap around the tumbler’s circumference, accounting for the cylinder’s taper. Most tumblers are slightly conical, not perfectly cylindrical, so a design laid out flat will distort at the top and bottom unless you compensate — keeping the main design in a central band avoids the worst of it.
The width of your flat layout should match the tumbler’s circumference at the engraving height, and the height should fit the straight section of the wall. The taper is the catch: because the top diameter differs from the bottom, a rotary spinning at one rate engraves the cone unevenly, stretching or compressing the design toward the ends. The practical fix most makers use is to keep text and key artwork in a central horizontal band where the taper is least pronounced, and to avoid designs that must align perfectly top-to-bottom across the full height. If your software supports conical-rotary compensation, use it; otherwise, design within the forgiving central zone. A wrap-around pattern that does not need to meet itself precisely at the seam is far more forgiving than a continuous border that must line up where it joins.
Fixturing on the Rotary
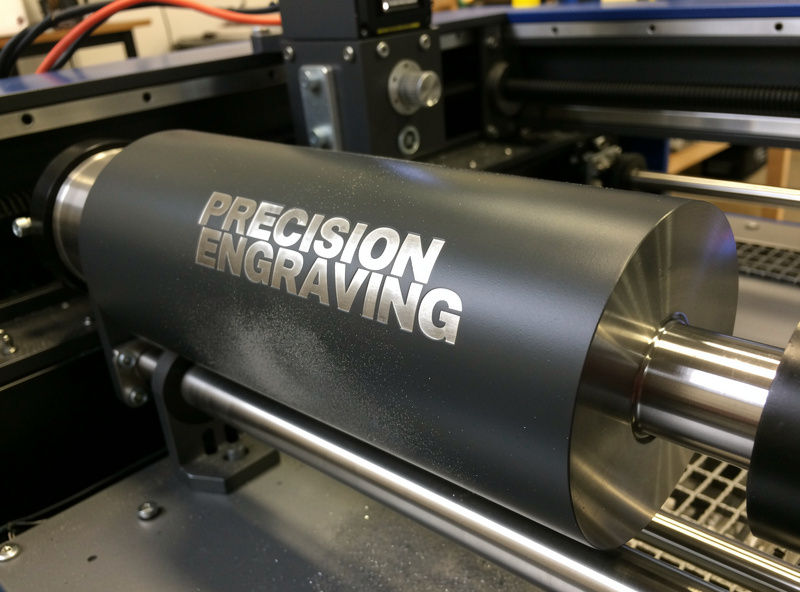
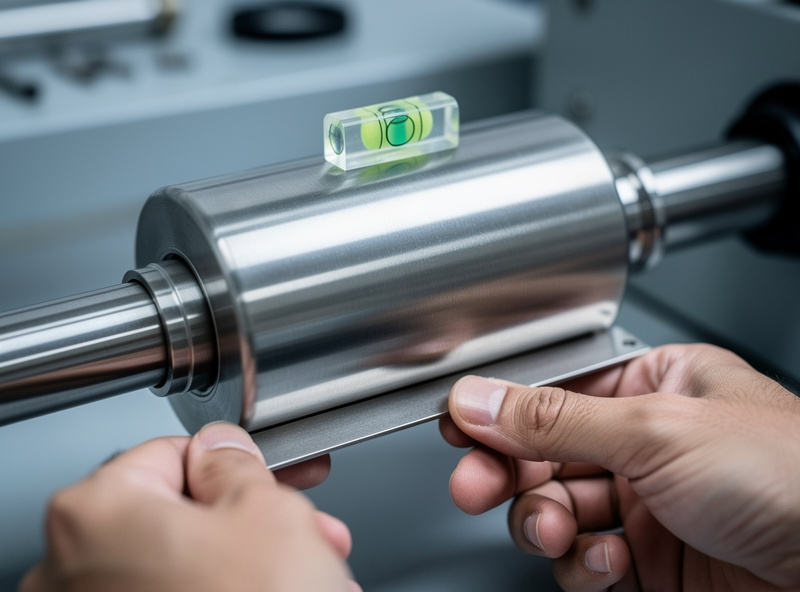
Mount the tumbler on the rotary so it sits level, spins true, and does not slip — this is the make-or-break step. A roller-style rotary cradles the tumbler on wheels; a chuck-style grips one end. Either way the tumbler axis must be parallel to the laser’s travel and level across the engraving zone, or the focus drifts and the engrave goes light on one side.
Level is everything. If the tumbler is not level along its axis, the laser’s focus distance changes across the design, so one end engraves crisp and the other engraves faint or not at all. Shim the rotary or the tumbler until a level confirms the engraving surface is flat to the bed. Set focus on the top of the curved surface at the center of your design, because that is the highest point the beam meets. Confirm the tumbler does not slip as the rotary turns — a slipping cylinder smears the engrave — by watching a slow framing pass before committing. The LightBurn rotary setup guide covers calibrating the rotary’s steps-per-rotation so the design wraps at the correct scale, which is the other half of a clean wrap. Take the time on the dry framing run; a tumbler that frames true engraves true.
Running the Engrave and Finishing
With the rotary leveled and calibrated, run the engrave at the settings for your coating or metal, then finish by cleaning the marked surface. On a powder-coated tumbler that means wiping away ablated coating residue; on a marking-spray job it means washing off the unreacted spray to leave only the bonded mark.
Air assist stays on for the engrave — it clears smoke and, on coated tumblers, the vaporised coating, keeping the revealed metal clean and bright. For the exact power, speed, and pass numbers on stainless and powder coat, the stainless tumbler settings guide has the tested values, since this article focuses on the build rather than duplicating the settings work. After the engrave, the finishing differs by method: a powder-coated mark just needs the residue wiped off and looks finished immediately; a Cermark or marking-spray job needs the excess spray washed away with soap and water, leaving a durable black bonded mark; a fiber-annealed stainless mark is permanent and needs only a wipe. A tumbler engraved this way survives hand-washing well, though as with any drinkware the safest advice is hand-wash to preserve both the coating and the mark.
Why the Rotary Is the Whole Skill
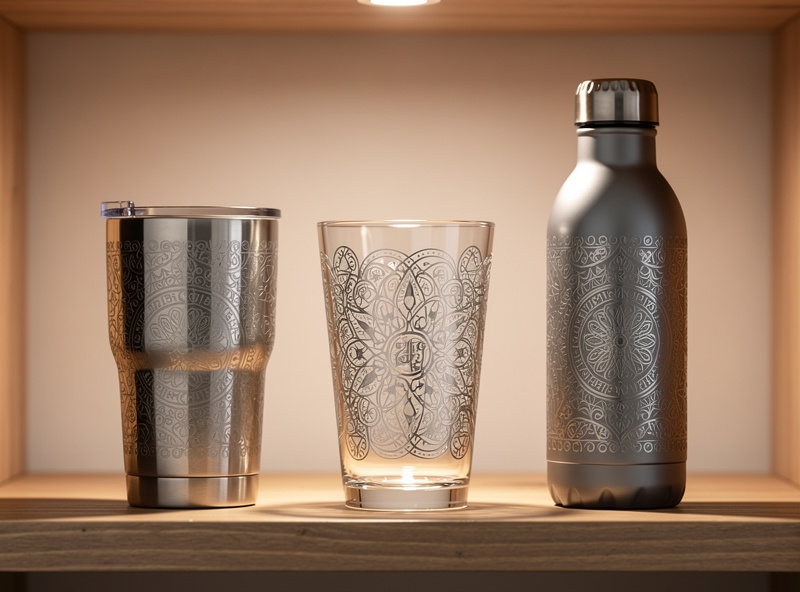
The rotary is what separates a tumbler project from flat engraving, and it is the transferable skill: once you can level, calibrate, and run a rotary, every cylindrical object opens up — pint glasses, bottles, rolling pins, and ring blanks all use the same setup. The leveling and steps-per-rotation calibration you learn on a tumbler is the foundation for all rotary work.
That is why I treat the tumbler as a genuine project rather than a quick job: the value is in learning to fixture and calibrate a rotary properly, which pays off across a whole category of cylindrical pieces. The settings change per material, but the rotary discipline — level it, calibrate the rotation scale, confirm no slip with a framing pass, focus on the curve’s high point — stays the same whether you are wrapping a tumbler, a glass, or a wooden rolling pin. Master it on a cheap powder-coated tumbler where mistakes cost little, and you have the core skill for every rotary project after.
Disclosure: Some links below are affiliate links. If you buy through them I may earn a small commission at no extra cost to you. I only point to gear and supplies I actually use on my own bench.
For the cylinders themselves, a pack of powder-coated tumbler blanks is the easiest starting stock — the coating ablates to a clean two-tone mark on a diode. For bare stainless without a fiber marker, a bottle of metal marking spray bonds a durable black mark under the laser. And the one piece of hardware that makes all of this possible is a laser rotary roller attachment matched to your machine.
Further Reading
- Laser Engraving Project Ideas: The Project Hub
- Stainless Tumbler Settings: Fiber and Cermark
- LightBurn Rotary Setup
- Best Fiber Laser for Metal
Frequently Asked Questions
Can a diode laser engrave a tumbler?
A diode can engrave powder-coated or painted tumblers by ablating the coating to reveal the metal beneath. For bare stainless it needs a marking spray like Cermark or a fiber marker, plus a rotary to wrap the design.
Do I need a rotary attachment to engrave tumblers?
Yes. A rotary spins the cylinder so the engrave wraps evenly around the curve. Without one you can only engrave a small flat patch on the side, not a wrapped design that follows the tumbler’s circumference.
How do I stop a tumbler engrave from going light on one side?
Level the tumbler on the rotary so its axis is parallel and flat to the bed. If it is not level, the focus distance changes across the design and one end engraves faint. Shim until a level confirms it is flat.
Why does my wrapped design distort on a tumbler?
Most tumblers are slightly conical, so a flat layout stretches toward the ends. Keep text and key artwork in a central horizontal band where the taper is least pronounced, or use conical-rotary compensation if your software supports it.
Are laser-engraved tumblers dishwasher safe?
The mark itself is durable, especially fiber-annealed or Cermark marks, but hand-washing best preserves both the powder coating and the engrave. As with most drinkware, hand-wash to keep it looking new longest.