Stone Engraving Paint-Fill Technique: Bold Colour in the Engrave

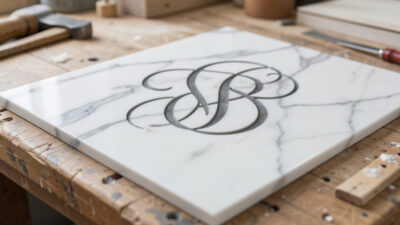
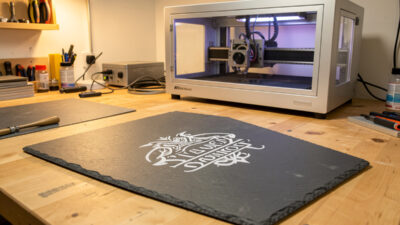
Paint-filling a laser engrave is the technique that turns a subtle frosted or recessed mark into bold, deliberate colour — black lettering on light stone, gold on slate, white on dark granite, any colour you want sitting crisp and permanent in the engraved area. It is the trick behind most of the “how is that so clean?” stone pieces you see, and it is genuinely simple once you understand the core idea: you engrave a recess or a roughened area, flood it with paint, and wipe the surface clean so colour stays only in the engrave. The unlasered surface sheds the paint; the lasered area holds it. Done right, it looks like the colour was always part of the stone.
This build walks through the whole paint-fill process — engraving the right kind of recess, choosing the paint, the flood-and-wipe method that does not smear, and sealing the result. It works across the stone family and beyond, and it pairs naturally with the stone engraving guide as the colour-adding counterpart to the frosting and bonding techniques covered there.
Why Paint-Fill Instead of Frosting
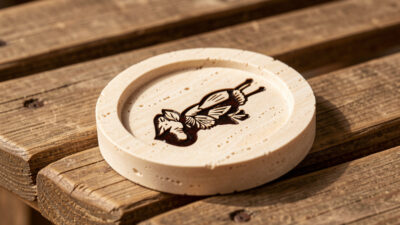
Frosting and surface marking give you contrast in the stone’s own tones — light frost on dark slate, darkened etch on light marble. Paint-fill gives you contrast in any colour you choose, and it gives a bolder, more uniform result than a surface frost on materials where the natural contrast is weak. On a pale stone where a frost barely shows, a paint fill makes the design pop. On porous materials like travertine and natural slate, the engraved recess physically holds the paint, giving crisp coloured lettering that a surface mark cannot match. For the full settings and prep workflow specific to travertine — including the deeper engrave passes that open the pores most effectively — the laser engraving travertine guide covers it in detail. And on a memorial or a sign that needs to read from a distance, a colour fill in the lettering is far more legible than a subtle frost.
The technique also rescues a weak engrave. If your frost came out faint on a stubborn stone, a paint fill in the same recess restores bold contrast. It is the most versatile finishing move in the stone toolkit, but the stone you choose in the first place determines how well the technique works. For a ranked comparison of slate, tile, granite, marble, and travertine by engrave contrast and paint-fill suitability, see the best stone materials for laser engraving guide., which is why it earns its own walkthrough rather than a footnote on each material page.
It also opens up multi-colour work that frosting simply cannot do. Because you control the colour, you can fill different elements of a design in different colours by masking and filling in stages — gold lettering with a black border, or a two-tone crest — building up a piece that looks far more involved than the single engrave-and-fill it actually is. That flexibility is why paint-fill is the technique I reach for whenever a client wants something that reads as deliberately designed rather than simply marked.
Engraving the Right Recess
Paint-fill works best when the engrave gives the paint something to grip. If you also cut parts from acrylic and want clean polished edges on those components, the laser cutting acrylic guide covers cast vs extruded selection, air-assist pressure, and the full cutting workflow.. On softer, porous stone like travertine and natural slate, a normal engrave already opens a recess and a rough surface the paint keys into. On harder, polished stone you may want to engrave a touch deeper or with a slightly more aggressive setting than you would for a pure frost, so there is a defined roughened area to hold colour rather than a glassy-smooth surface that sheds it. The goal is a clean, slightly recessed, slightly rough area exactly where you want colour, and crisp untouched stone everywhere else.
You still run a materials test card first, because the setting that holds paint cleanly varies by stone. I cut a small grid, fill the test marks, wipe them back, and pick the cell that holds bold colour with crisp edges and no paint clinging to the surrounding surface. Edge crispness is the whole game in paint-fill: a clean engrave edge gives a clean paint line, while a ragged or over-burned edge lets paint creep onto the surface and blur the design. Air assist stays on during the engrave to keep the edges clean, the same as any stone work, and on a diode or CO2 — paint-fill needs no fiber laser, this is standard diode and CO2 stone territory.
Choosing and Applying the Paint
For colour fill I reach for an oil-based paint pen or acrylic enamel — something that flows into the recess, dries durable, and wipes cleanly off the unlasered surface before it cures. Oil-based paint pens are my favourite for lettering and small designs because the control is excellent: you flood the engraved area directly, slightly overfilling, without fussing over the surrounding stone. For larger fills, a small brush or a dab of enamel works the colour into the recess. Pick a colour that contrasts the stone — white or gold on dark slate and granite, black or a deep colour on light marble and tile.
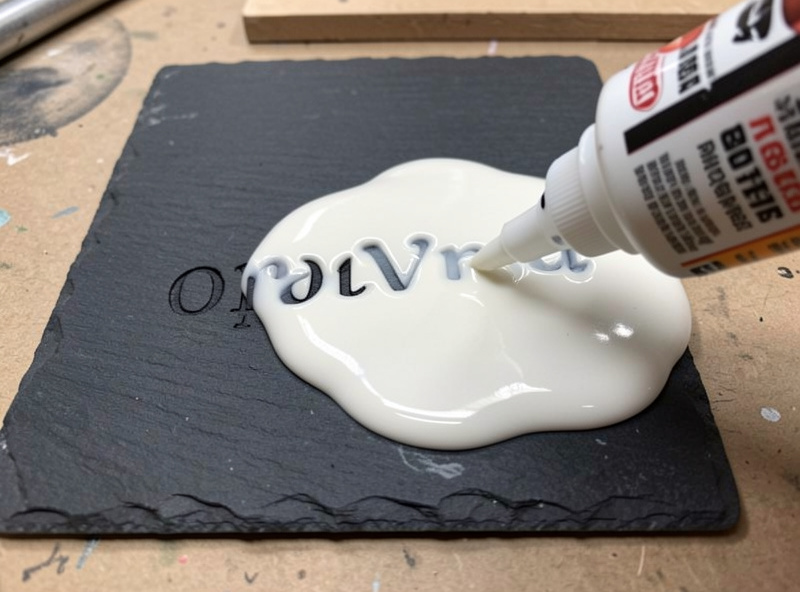
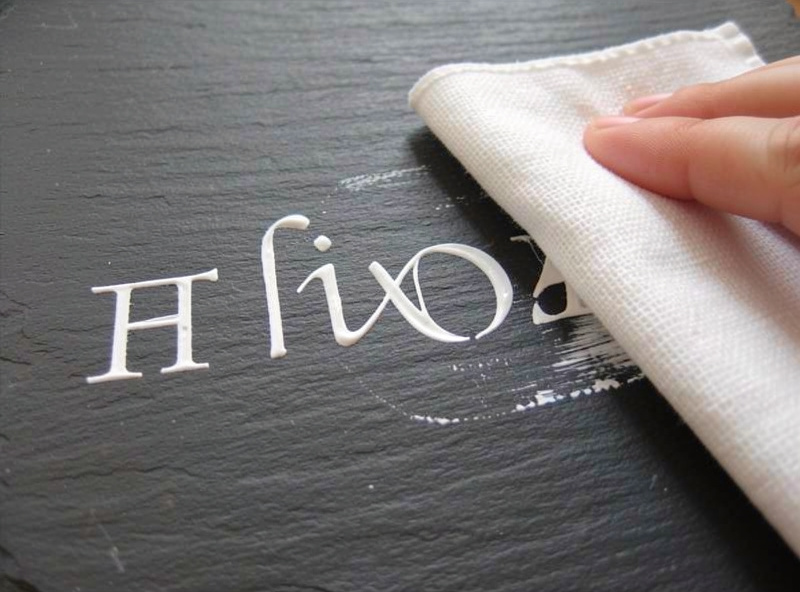
The method is flood, settle, then wipe. Flood the engraved area so the paint fully fills the recess, let it settle for a moment but not cure, then wipe the surface clean with a cloth lightly dampened with the appropriate solvent for your paint, working across the design rather than into it. The unlasered surface gives up the paint; the recess holds it. The timing matters — wipe too soon and you pull paint out of the recess, wipe too late and cured paint clings to the surface. A quick test on your test card tells you the window for your paint and stone.
A couple of habits make the wipe foolproof. Wipe in one direction across the design, lifting the cloth and refolding to a clean face often, so you are not dragging lifted paint back across the surface. Keep the solvent on the cloth, not flooded on the stone — a soaked surface pulls paint out of the recess too. And on fine lettering, a slightly tacky wipe followed by a final clean pass once the surface paint has set a touch gives the crispest edge, because the surface paint releases cleanly while the recessed paint has anchored. With porous stone like travertine, mask the surrounding surface lightly if the stone is so absorbent that the surface itself stains — on dense slate and granite that is rarely needed.
Sealing the Filled Engrave
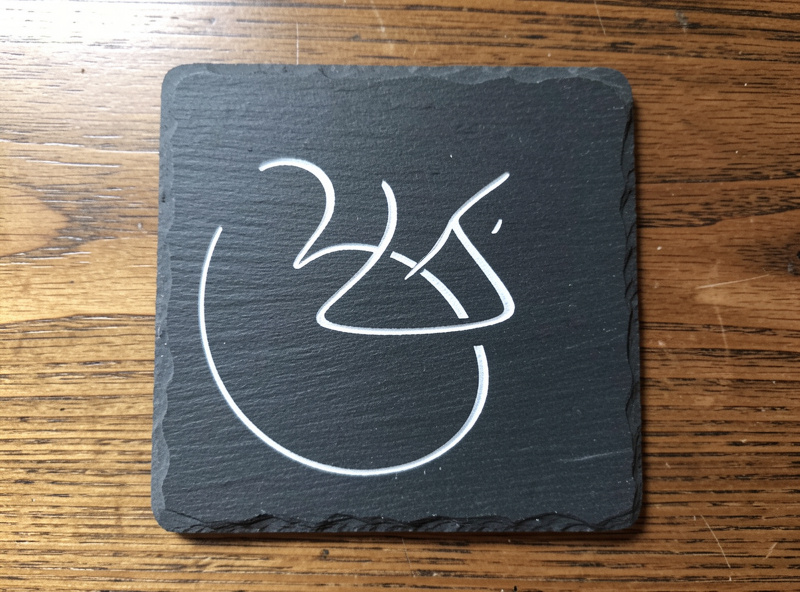
Once the paint has fully cured, seal the piece — especially anything that will be handled or live outdoors. A clear sealer over the cured fill protects the colour from rubbing off at the edges and guards the stone, and on a coaster it keeps the fill from lifting under wet glasses. A penetrating stone sealer keeps the natural matte surface while protecting both the stone and the fill; a clear matte spray gives a more uniform protective face on an outdoor piece. As always, test the sealer on a filled scrap first, because some solvents in a sealer can disturb a fill that is not fully cured — give the paint plenty of cure time before you seal.
Safety Notes
Two safety threads run through paint-fill. First, the engraving itself: stone is inert and will not outgas chlorine like PVC, but it throws fine dust and fumes, so air assist on, ducted exhaust running, enclosure closed — the discipline from laser safety essentials, and never run the job unattended. Second, the paint and solvents: oil-based paints and their solvents have their own ventilation needs, so do the fill-and-wipe step in a ventilated space and store rags safely. Neither risk is dramatic, but both are real, and the same fume-and-fire discipline that governs the laser bench extends to the finishing bench.
Disclosure: Some links below are affiliate links. If you buy through them I may earn a small commission at no extra cost to you. I only point to materials I actually use on my own bench.
For paint-fill work, a set of oil-based paint markers in white, gold, and black covers most stone colours and gives the control you want for lettering, and a natural stone sealer locks the cured fill in and protects the piece. Keep a few offcuts handy for testing the fill-and-wipe timing before you touch the real blank.
Frequently Asked Questions
How do you paint-fill a laser engraving on stone?
Engrave a slightly recessed, roughened area, flood it with an oil-based paint or enamel, let it settle, then wipe the surface clean before it cures. The unlasered surface sheds the paint while the recess holds it, leaving crisp coloured lettering. Seal once cured.
What paint is best for filling a stone engraving?
Oil-based paint pens or acrylic enamel work best. They flow into the recess, dry durable, and wipe cleanly off the surface before curing. Paint pens give the most control for lettering; a small brush or enamel suits larger fills.
Why does paint-fill smear on my engraving?
Smearing usually means a ragged or over-burned engrave edge letting paint creep onto the surface, or wiping too late after the paint has started to cure. Aim for a crisp clean engrave edge, and wipe while the paint is still wet but settled.
Do you need to seal a paint-filled engraving?
Yes, for anything handled or kept outdoors. A clear sealer over the fully cured fill protects the colour from rubbing off and guards the stone. Let the paint cure fully before sealing so the sealer’s solvents do not disturb it.
Can you paint-fill on a diode laser?
Yes. Paint-fill is a finishing technique applied after engraving, so any laser that engraves the recess works, including a diode. The engrave needs a slightly recessed, roughened area for the paint to grip, which a diode produces fine on stone.