Laser Engraving Marble: A Guide to the Trickiest Stone
Marble is the most beautiful and the most temperamental stone you will put under a laser. When it works, a laser engrave on white marble looks like fine etching — a soft darkened mark with depth and shadow that nothing else in the stone family quite matches. When it fights you, the veining and the uneven hardness across the slab make your contrast wander, leaving one corner crisp and dark and another washed out. Marble is the material I tell people to tackle only after they can read their own contrast confidently on slate and granite, because it punishes a careless setting more than any other stone I run. But the payoff is worth the patience, and the technique is learnable.
This build covers what makes marble different from the rest of the stone family, why the veining and hardness variation matter, the CO2-leaning setting approach that handles polished marble best, and the finishing that protects the mark. If you have read the stone engraving guide, this is the deep dive on the prima donna of the group.
Why Marble Behaves Differently
Unlike dark slate and granite, where the laser frosts the surface light, on white and light marble the laser darkens the surface — you are creating a darker etched mark rather than a pale frost. That single inversion changes everything about how you design and read the result. You are now drawing in dark on light, the way you do on wood, rather than drawing in light on dark the way you do on dark stone. For anyone moving from slate or granite, getting the polarity right is the first thing to fix, because a design imported straight from dark-stone work comes out inverted.
The harder problem is marble’s nature as a natural, veined stone. Marble is metamorphosed limestone shot through with mineral veining, and the hardness and composition vary across a single slab. That means the same power and speed can darken the soft areas beautifully and barely touch the harder veins, so your contrast shifts as the head crosses the stone. There is no single perfect setting that fixes this on a heavily veined piece — you choose a setting that gives the best average, you favour cleaner less-veined slabs for detailed work, and you accept that marble has more character and less uniformity than an engineered surface. That variability is part of marble’s charm and part of its difficulty in equal measure.
Why CO2 Leans Ahead on Polished Marble
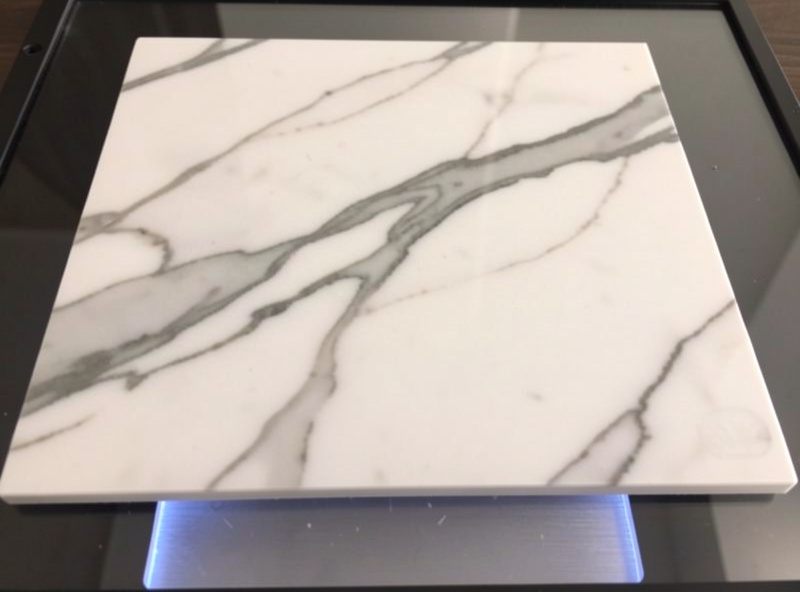
Marble is the clearest case in the stone family where my CO2 earns its keep over the diode. Polished white marble is a glossy, light surface, and the blue diode light does not couple into it as readily as it does into dark slate or granite — you can get a mark on a diode, but it is harder won and often weaker. The CO2’s 10.6-micron wavelength couples more readily into the polished surface and lays down a cleaner, more consistent darkened mark, which is exactly what you want on a stone whose contrast already wants to wander. On my OMTech Polar 350 I get a noticeably more even result on polished marble than I do on the xTool S1.
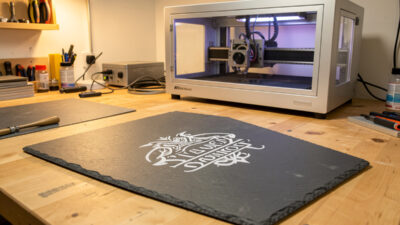
That said, a diode is not useless here — on honed (matte) marble rather than high-polish, and on darker marbles, the diode does better, and plenty of makers run marble coasters on a diode happily. Neither machine needs a fiber laser; marble is firmly diode-and-CO2 territory, with CO2 the stronger pick for polished light slabs, as the diode vs CO2 vs fiber breakdown explains. Whichever you run, you start with a materials test card, and on marble that test card matters more than on any other stone because the slab-to-slab and within-slab variation is the largest. I run the grid across a veined section deliberately, so I can see how the setting holds where the stone changes.
Dialling In Marble
The setting approach on marble is moderate power, moderate speed, air assist on, single pass — and then patience reading the result across the veining. Too much power on the soft areas blows out the mark into a muddy over-etch while the hard veins still look weak, widening the contrast gap rather than closing it. I lean toward the setting that handles the harder areas adequately and accept a slightly softer mark on the softest sections, because that gives the most uniform overall read on a varied slab. On a clean, low-veining piece of marble you can push for crisper detail; on a heavily veined showpiece slab, design around the veins rather than fighting them.
Focus and levelling are as critical as on granite. Marble tiles can have a slight bow, and a shallow etched mark smears the moment focus drifts, so I shim the slab flat and confirm focus across the field before committing. Because the mark on marble is a darkening rather than a frost, a clean focused edge reads as fine etching and a smeared one reads as a smudge — there is less margin for focus error than on a bold frosted granite mark.
Designing for Marble
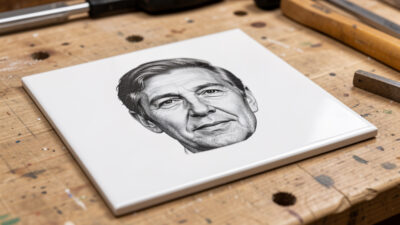
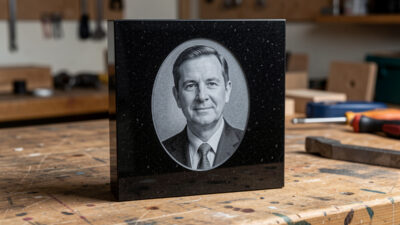
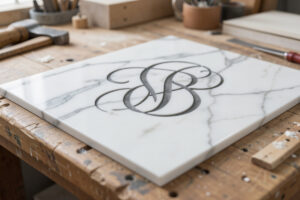
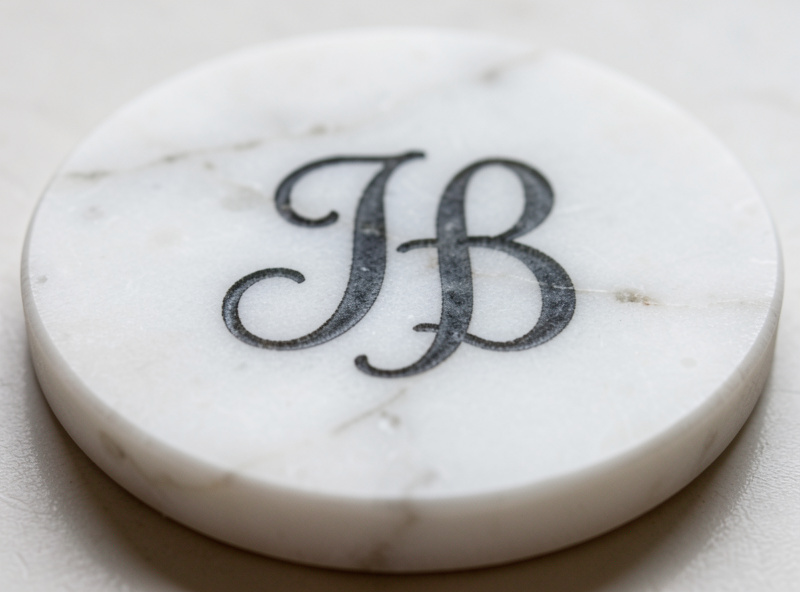
Marble suits elegant, finer work better than the bold-only approach the darker stones demand, because the darkened etch can hold more subtlety than a frost. Monograms, fine line drawings, delicate lettering, and well-prepared grayscale photos all read beautifully when the slab cooperates. The same grayscale prep I use for glass frosting works here, since both are contrast media — but on marble you design in dark-on-light, the opposite polarity to the frosted dark stones. Keep the design away from the most aggressive veining if you want crisp detail, and let the natural stone pattern frame the work rather than run through the middle of fine lettering.
For coasters, plaques, and premium gifts — marble’s natural home — a clean simple design on a less-veined slab is the safest route to a result that looks deliberately bespoke rather than accidentally uneven. Save the dramatic heavily-veined slabs for bold designs that can absorb the variation. A trick I use on a showpiece slab is to lay the design out in LightBurn over a photo of the actual stone, so I can position the lettering in the calmest part of the surface and let the most striking veining sit in negative space around it rather than slicing through the detail. That bit of planning is the difference between a marble piece that looks intentional and one that looks like the stone won.
Sealing and Safety
Marble is porous and stains easily, so a sealer does double duty: it protects the etched mark and it guards the stone against the wine and coffee that a marble coaster inevitably meets. A penetrating stone sealer keeps the natural matte and protects without adding a plastic sheen; test it on a scrap etch first, because the sealer can deepen the mark’s apparent contrast and you want to see that before it goes on the finished piece. On safety, marble is inert and will not outgas chlorine like PVC, but it throws fine dust and fumes you should not breathe — air assist on, ducted exhaust running, enclosure closed, the standard discipline from laser safety essentials. And as always, never run the job unattended, even on a stone that will not burn.
Disclosure: Some links below are affiliate links. If you buy through them I may earn a small commission at no extra cost to you. I only point to materials I actually use on my own bench.
For marble work, a set of white marble coaster blanks gives you the classic light surface for an etched mark, and a natural stone sealer protects both the engrave and the porous marble from stains. Buy a few extra blanks for test cards — marble varies enough that you will want to confirm your setting on each lot.
Frequently Asked Questions
Can you laser engrave marble?
Yes, though marble is the most temperamental stone in the family. On light marble the laser darkens the surface into an etched mark rather than frosting it light. The veining and uneven hardness make the contrast wander, so it rewards patience and careful settings.
Is a diode or CO2 laser better for marble?
CO2 leans ahead on polished white marble, because its wavelength couples more readily into the glossy light surface than a blue diode does. A diode works better on honed or darker marble, but for polished light slabs CO2 gives a cleaner, more consistent mark.
Why is my marble engrave uneven?
Marble is a natural veined stone with varying hardness across the slab, so the same setting darkens soft areas more than hard veins, making contrast wander. Choose a setting that handles the harder areas adequately, favour less-veined slabs for detail, and test across the veining.
Does the laser cut into marble or just mark it?
On light marble the laser darkens the surface into a shallow etched mark rather than boring depth. It is a surface contrast effect like other stone, but inverted: dark mark on light stone instead of the light frost you get on dark slate and granite.
Should you seal engraved marble?
Yes. Marble is porous and stains easily, so a penetrating stone sealer protects both the etched mark and the stone from wine and coffee on coasters. Test the sealer on a scrap etch first, since it can deepen the apparent contrast of the mark.