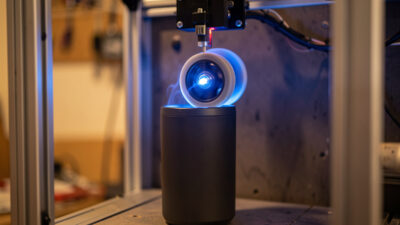
How to Laser Engrave Photos on Wood
To laser engrave a photo on wood, pick a pale, tight, even-grained board like maple or basswood, prep the image for high contrast, dither rather than grayscale, lock your focus, and run a test card. On my 40W-class diode that lands near 100 mm/s at 18–22% power, 0.1 mm interval, with air assist on. Wood is the most accessible photo material there is — the only thing that consistently ruins it is grain.
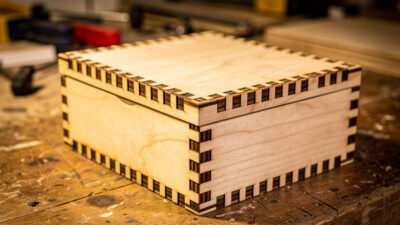
Wood is where almost everyone starts, because a diode and a board are cheap and the result makes a genuinely good gift. This is the wood-specific chapter of the complete photo engraving guide, focused on the quirks that wood adds: choosing the species, fighting the grain, and finishing the piece so the contrast lasts.
The wood you choose decides the result
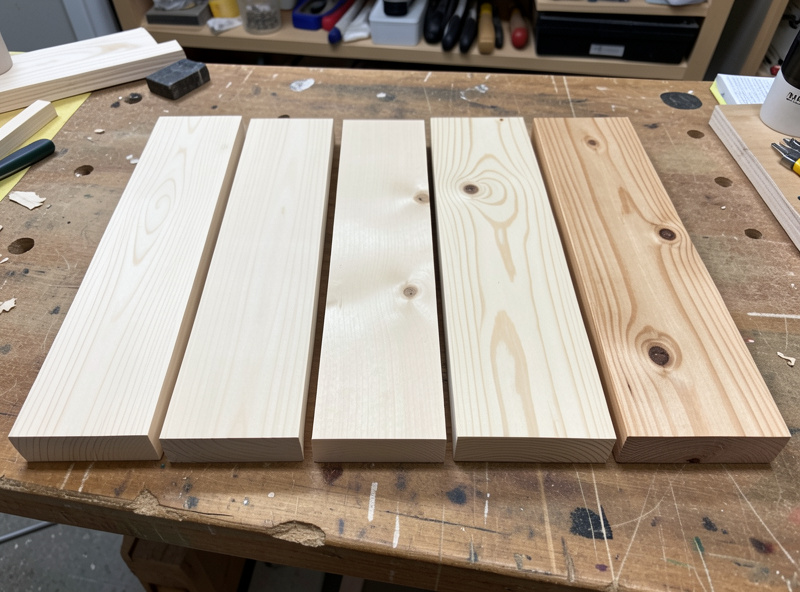
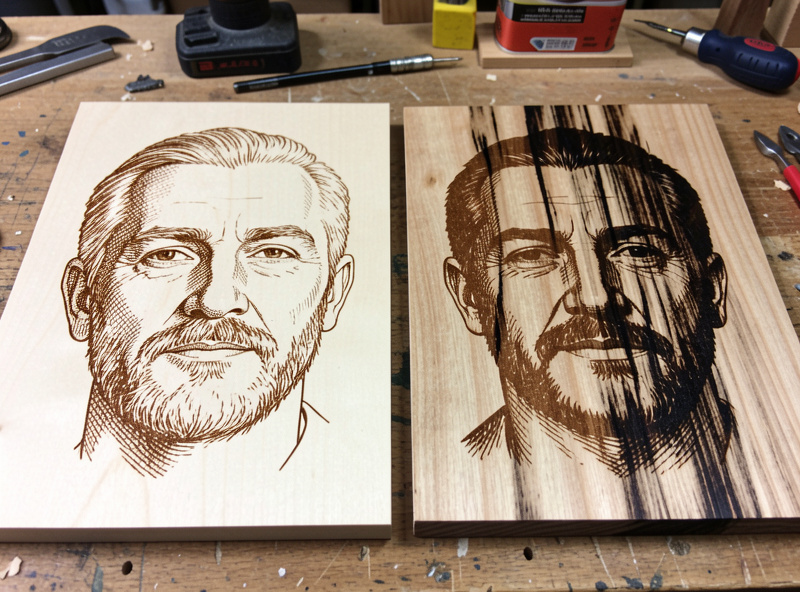
Grain is the enemy of a face. A strong dark grain streak running through a cheek reads as a shadow that is not in the photo, and no settings tuning removes it — it is in the wood, not the burn. So the whole game is choosing pale, tight, even-grained stock. Maple is my first pick: smooth, pale, consistent, and it darkens predictably under the beam. Basswood is even softer and paler, wonderful for beginners, though it can burn a touch fuzzy. Birch plywood is cheap, flat, and reliable as long as you get a void-free face ply. Alder and cherry give warmer tones that suit portraits with a vintage feel.
Avoid the dramatic stuff for photos: oak, walnut with wild figure, anything with pronounced open grain or strong color variation. They look gorgeous as raw boards and terrible as faces. If you only have figured wood on hand, orient the piece so the grain runs vertically and as far from the main facial features as you can, but honestly the better fix is to keep a stack of maple and basswood blanks specifically for photo work, which is what I do. The broader species ranking is in best wood for laser engraving.
Why dithering beats grayscale on wood
Wood does not respond proportionally to partial laser power — it tends to stay pale until a threshold, then char quickly — so grayscale mode bands and blotches on it. Dithering, which fires the diode full-on or full-off and varies dot density instead, sidesteps that completely and is why nearly every clean wood portrait you have seen is dithered. Jarvis and Stucki give the most natural look on wood; Atkinson adds punch on lighter species. The full reasoning is in grayscale vs dithering, and the specific LightBurn algorithms in the algorithm comparison.
Prepping the image for wood
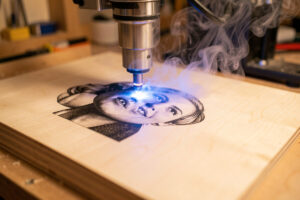
Wood has a narrower tonal range than slate or tile, so it punishes a flat image harder. I push contrast more aggressively than I would for tile, lift the midtones with a little gamma so faces do not go muddy, and make sure there is a genuine white point that will map to bare, unburned wood. Crop tight on the subject and blur or remove busy backgrounds — on wood, background noise competes with the grain and the whole thing turns to soup. Spend real time here; a strong prep on average wood beats a lazy prep on perfect wood every time.
Settings and focus on wood
Starting points for a 40W-class diode on maple: 0.1 mm line interval (254 DPI), Jarvis dither, roughly 100 mm/s, and power swept from about 12% to 28% on a test grid to find where shadows go fully dark without the highlights scorching. Basswood wants a touch less power than maple; birch ply sits in between. A CO2 runs faster and cleaner if you have one. Whatever your numbers, set focus with the focus tool or a ramp test — not by eye — because a soft focus on wood reads as a grey, washed face no matter how good the power is. And air assist stays on the whole time to blow smoke clear so it does not redeposit as a brown haze over the highlights. My case for it is in the air assist setup guide.
Masking, sanding, and finishing
Two optional steps lift a wood photo from good to bought-looking. Some people apply masking tape or a thin coat over the wood before burning to keep surface soot from staining the unburned areas, then peel it after — useful on very pale basswood that smudges easily. After engraving, a light pass with fine sandpaper knocks down any raised fuzz around the burn.
Then finish it. A wipe of clear matte oil or finish deepens the contrast and protects the surface, but test it on a scrap first, because some finishes darken the bare wood and flatten the image. I keep wood photo finishes matte — gloss throws glare that hides the very detail you worked for. For a piece that will be handled or gifted, seal it or frame it behind glass, since skin oils slowly grey down an unprotected engrave. Treat a finished wood portrait like the wood signs I make: the finishing is half the craft.
Safety on wood photo jobs
A wood photo is ten to thirty minutes of the beam dwelling on dry, flammable material, which is exactly the recipe for a flare-up if a knot or a glue void catches. Air assist, ducted exhaust to outside, an extinguisher within reach, and the never-leave-it-unattended rule all apply — the full setup is in building laser workshop ventilation. Wood smoke is also genuinely unpleasant to breathe, so the exhaust is not optional comfort, it is lung protection.
Frequently Asked Questions
What is the best wood for laser engraving photos?
Pale, tight, even-grained species. Maple is the top pick for its smooth consistent surface, basswood is great for beginners, and birch plywood is cheap and reliable. Avoid strongly grained woods like oak, whose grain reads as fake shadow in a face.
Should I use grayscale or dithering for photos on wood?
Dithering. Wood does not respond proportionally to partial laser power, so grayscale bands and blotches on it. Dithering fires the diode fully on or off and varies dot density, which is why nearly every clean wood portrait is dithered. Use Jarvis or Stucki.
What settings should I use to engrave a photo on wood with a diode?
On a 40W-class diode into maple, start near 0.1 mm line interval (254 DPI), Jarvis dither, around 100 mm/s, and sweep power from about 12 to 28 percent on a test grid with air assist on. Basswood wants slightly less power than maple.
Why does my wood photo look faded or grey?
Usually soft focus or too little energy. Set focus with the focus tool rather than by eye, then slow the scan or raise power slightly. A washed grey haze over highlights often means air assist was off and smoke redeposited on the surface.
How do I stop wood grain ruining the photo?
Choose pale, tight, even-grained stock like maple or basswood so there are no dark grain streaks to read as false shadows. If you must use grained wood, orient the grain vertically and away from the main facial features, but switching wood is the real fix.
Should I seal a laser-engraved wood photo?
Yes, for anything handled or gifted. A wipe of clear matte oil or finish deepens contrast and protects the surface, but test it on scrap first since some finishes darken bare wood. Keep it matte to avoid glare, or frame the piece behind glass.