Cermark and Thermark: Laser Marking Bare Metal
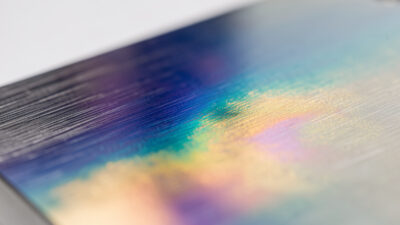
Cermark and Thermark are laser-marking compounds — a thin coating you fuse onto bare metal so a CO2 laser can leave a permanent black mark it otherwise could not make. On my OMTech Polar 350 CO2 bench, a properly bonded Cermark mark survives acetone, a wire brush, and a year of handling without fading.
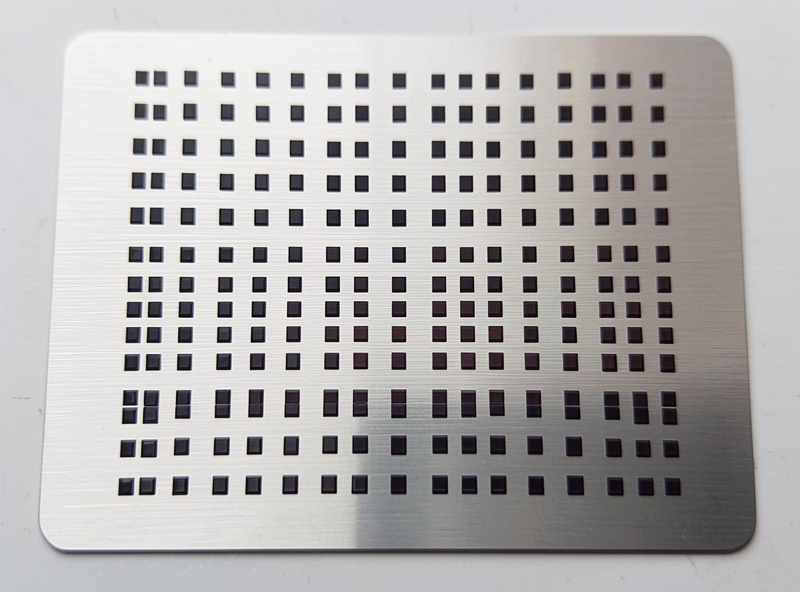
That is the whole reason these compounds exist. A blue diode and a CO2 tube cannot couple their wavelength into shiny bare stainless or brass well enough to mark it directly. Coat the metal in a metal-oxide compound, run the laser, and the heat fuses that compound into the surface as a jet-black bond. Wash off the unfused residue and the mark stays. I have run hundreds of tags, knife bolsters, and tumbler lids this way, and the difference between a clean bond and a smudge that wipes off always comes down to surface prep and a materials test card.
What Cermark and Thermark Actually Are
Both are the same family of thermal-bonding metal-marking compounds, originally developed by TherMark and now sold under the Cermark brand for desktop users. The compound is a suspension of metal oxides in a carrier; the laser supplies the heat that bonds the oxide to the substrate.
People treat “Cermark vs Thermark” as a rivalry, but functionally they came from the same technology house — Thermark was the original industrial line, Cermark the version that reached hobby and small-shop buyers. On my bench they behave identically when the prep is identical. What actually changes your result is not the brand on the can; it is whether you cleaned the metal to bare oxide-free surface, laid down an even coat, and dialed the power and speed on a test grid first. I keep both a spray can and a bottle of the brush-on liquid in the cabinet, and I reach for them based on part size, not loyalty.
Why a CO2 Laser Needs the Coating and a Fiber Often Does Not
A CO2 laser fires at 10.6 microns and a diode at roughly 450 nanometers. Neither couples efficiently into bright bare metal — the energy mostly reflects. The compound gives the beam something dark and absorbent to heat, and that heat does the bonding. This is why Cermark is a CO2 and diode trick, not a fiber requirement.
A fiber or MOPA marker runs near 1,064 nanometers, a wavelength bare metal absorbs readily, so it marks stainless, titanium, and anodized aluminum directly by annealing or ablation — no coating needed. That is the honest trade: if you mostly mark metal, a fiber marker pays for the coating you stop buying. But if you already own a CO2 for acrylic and hardwood, Cermark turns that same machine into a metal marker for the cost of a can, and that is a genuinely good deal. I cover the wavelength physics in depth in my diode vs CO2 vs fiber breakdown, and the broader metal workflow in the fiber laser metal marking guide.
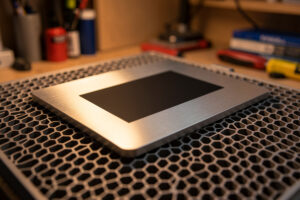
The Three Forms: Aerosol, Liquid, and Tape
Cermark ships in three formats, and picking the wrong one wastes an expensive product. Aerosol is fastest for one-off parts, the liquid is far cheaper per mark for production, and the tape is the cleanest for flat stock.
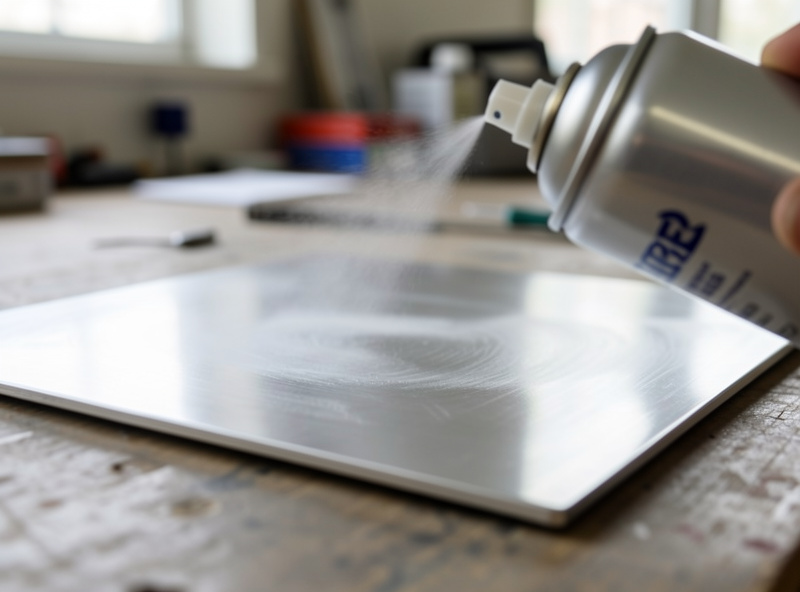
The aerosol can is what most people start with because there is nothing to mix — clean, spray a thin even pass, let it flash off, and mark. The downside is cost per part and overspray. The brush-on or airbrush liquid (the LMM-6000-class material) is concentrated; you thin and apply it, which is fiddly but drops the cost per mark dramatically once you are running batches. The tape is a dry film you lay onto flat metal, mark through, and peel — no drying, no overspray, ideal for flat plates and nameplates but useless on curved tumblers.
| Form | Best for | Cost per mark | Prep effort | My pick when |
|---|---|---|---|---|
| Aerosol spray | One-off parts, curved surfaces | High | Low (spray and dry) | Single tumbler, knife, or sample |
| Brush/airbrush liquid | Production batches | Low | Medium (thin and apply) | Running 20+ identical tags |
| Dry tape film | Flat plates, nameplates | Medium | Low (no drying) | Flat stainless or brass signage |
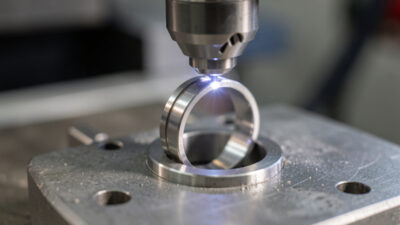
How I Apply and Mark It on My Bench
The mark is only as good as the prep. My sequence is the same every time: degrease, coat thin, dry fully, mark, wash. Skip the degrease and the compound bonds to the oil film instead of the metal, and it lifts off in a week.
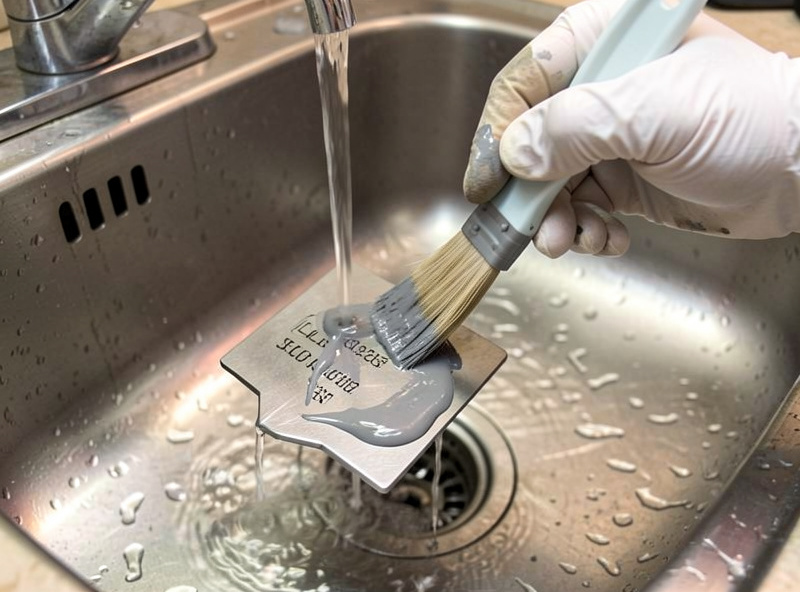
I wipe the part down with acetone or isopropyl alcohol and handle it with a clean rag after — fingerprints are oil, and oil ruins the bond. With the aerosol I lay two light passes rather than one heavy one; a thick gloopy coat marks gray and patchy because the laser cannot fuse all the way through it. The coat needs to be opaque-matte and bone dry before it goes on the bed. After marking, the part comes off looking like a mess — there is unfused gray residue everywhere. That washes off under warm water with a little dish soap and a soft brush, leaving only the bonded black mark. If the mark washes off too, your power was too low or your coat was too thick; that is exactly what the test card is for.
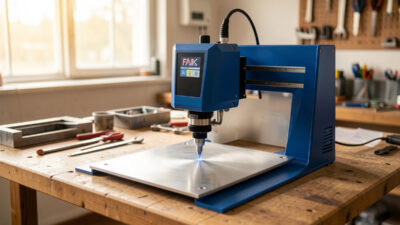
Settings That Actually Work
There is no universal Cermark setting, because output depends on your tube wattage, lens, and the metal underneath. What is universal is the method: run a power-and-speed grid on a scrap of the same metal lot before you mark the real part. On my 50W Polar 350, stainless lands in a workable window, but I confirm it every time.
As a starting grid on a 50W CO2 for stainless, I test power from roughly 60 to 100 percent against speeds of 150 to 400 mm/s, single pass, at a line interval around 0.05 to 0.08 mm (about 300 to 500 DPI). The sweet spot is the slowest-fading, blackest cell that still washes clean — too hot and you scorch the bond gray; too cold and it lifts. On a fiber marker using Cermark for stubborn substrates the window shifts to high frequency and moderate speed, but I treat fiber-plus-Cermark as the exception, since a fiber usually marks bare metal directly. Brass and aluminum each want their own grid — aluminum especially, because standard Cermark bonds poorly to bare aluminum and there is an aluminum-specific formula for it. When in doubt, I log the winning cell in my materials notebook so the next lot starts from a known number instead of a guess.
The Cheaper Alternatives, Honestly
Cermark is expensive, so the internet is full of DIY substitutes. Some genuinely work; some are folklore. The two worth knowing are molybdenum disulfide dry-film spray and plain dish soap or mustard — and only one of those holds up.
Dry-moly lubricant spray (molybdenum disulfide) is the real budget contender. It is a fraction of the price, sprays like the aerosol, and bonds a usable dark-gray to near-black mark on stainless with the same wash-off process. It is not as deep or as consistently jet-black as genuine Cermark, and the contrast varies more between lots, but for shop tags and tooling marks I have run plenty of moly and been happy. The dish-soap and yellow-mustard hacks you see in videos do leave a faint mark, but in my logs they are thin, inconsistent, and rub away — fine for a one-time gag, not for anything that needs to last. If a mark matters, I use real compound or moly and skip the condiment chemistry. A quick search for molybdenum disulfide dry-film spray or Cermark metal-marking spray turns up both. As an Amazon Associate I earn from qualifying purchases.
Safety and Cleanup
Marking metal does not give off chlorine the way lasering PVC does, but you still run full ventilation, because the compound is a metal-oxide dust and the fused residue is not something to breathe. Air assist on, exhaust ducted outside, every time. A 50W CO2 tube is a Class 4 laser, so I run the enclosure interlocks and follow the ANSI Z136.1 laser-safety standard even on a “harmless” marking job.
I keep the air assist running through a Cermark job to clear the small amount of vaporized compound off the surface, and the enclosure exhaust ducted outside the way it always is — I never recirculate marking fume back into the room. The unfused residue is a fine powder when it dries, so I wash parts wet rather than blowing them off dry. And the standing rule does not change for metal: never run the job unattended, extinguisher and fire blanket within reach. Cermark itself is not the fire risk that organics are, but a workshop habit you only follow “for the risky materials” is a habit you will forget on the day it matters. I keep the same fire discipline I describe in the fire-suppression guide on every job, metal included, and I keep a running list of what should never go near the bed in materials never to laser engrave.
Frequently Asked Questions
Is Cermark the same as Thermark?
Functionally yes. They come from the same thermal-bonding metal-marking technology; Thermark was the original industrial line and Cermark is the version sold to desktop and small-shop users. With identical surface prep they perform the same on a CO2 laser.
Can I use Cermark with a diode laser?
Yes, on stainless and other dark-bonding metals, though a diode needs slower speeds and often a second pass because it delivers less usable energy than a CO2 tube. Run a power-and-speed test grid first to find the cell that marks black and still washes clean.
Why did my Cermark mark wash off?
Either the power was too low to fully bond the compound, or the coat was too thick for the laser to fuse all the way through, or the metal was not degreased and the compound bonded to an oil film. Degrease with acetone, coat thin, and raise power on a test grid.
Does Cermark work on aluminum?
Standard Cermark bonds poorly to bare aluminum. There is an aluminum-specific formula for it, but if you mostly mark aluminum a fiber marker that anneals or ablates anodized aluminum directly is usually the better tool than coating bare stock.
What is the cheapest substitute for Cermark?
Molybdenum disulfide dry-film spray is the credible budget option — it sprays and washes off like the aerosol and bonds a usable dark mark on stainless, just less consistently black. Dish soap and mustard leave only a faint mark that rubs away and are not worth using for anything permanent.
Do I still need ventilation when marking metal?
Yes. The compound is a metal-oxide material and the fused residue is a fine dust you should not breathe. Run air assist, keep the enclosure exhaust ducted outside rather than recirculated, and wash parts wet so the residue does not become airborne.