Inkscape for Laser Cutting and Engraving: A Setup Guide
Inkscape is the free vector editor I reach for whenever a laser file needs to be designed, cleaned, or rescued. This Inkscape laser engraving guide covers the setup that actually matters: document units, how the laser reads strokes and fills, mapping colors to cut and engrave operations, converting text and bitmaps, and exporting an SVG that lands in LightBurn at the right size rather than scaled off by the 6.7 percent a version DPI mismatch can introduce. Get those right and Inkscape will do almost everything a paid program does, for nothing.
I run Inkscape alongside LightBurn on the bench — Inkscape for designing and repairing artwork, LightBurn for driving the machine. They are two different jobs. Inkscape produces the geometry; LightBurn assigns power, speed, and order and sends it to the diode or the CO2. If you want the wider landscape of programs first, I covered it in free laser engraving software and best laser engraving software. This guide is the deep dive on the design half, and it slots into the larger laser file design and prep workflow.
Why Inkscape for laser work
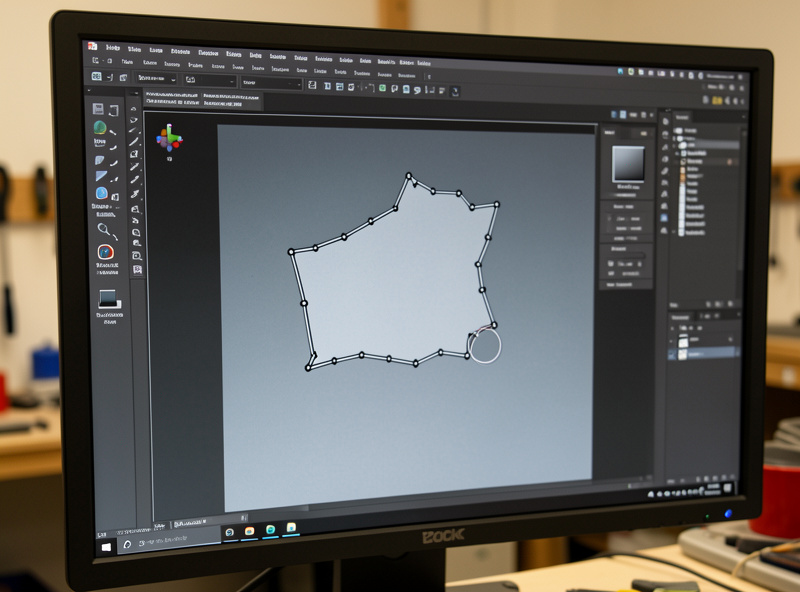
Three reasons it earns its place: it is genuinely free and open source, it reads and writes clean SVG (the format most laser software and box generators expect), and it has a real node editor for fixing paths. That last point matters more than people expect, because half the laser files floating around the internet need a cleanup pass before they are safe to cut.
Inkscape is a vector tool, so it is built for the cut-and-score side of laser work — outlines, line-art, text, and tracing logos. It can prepare images for engraving too, but the actual photo dithering happens better in LightBurn. Think of Inkscape as the place you build and clean the geometry, then hand it off.
Set the document up in millimeters first
The first thing I do in a new file is open Document Properties and set the units to millimeters, then size the page to match my working area. This single step prevents the most common Inkscape-to-laser disaster: a file that imports into LightBurn at the wrong scale because the units did not survive the trip. When the page is in millimeters and sized sensibly, a 100 mm box stays a 100 mm box all the way to the bed.
There is a historical quirk worth knowing. Older Inkscape versions used 90 DPI while the SVG standard and newer versions use 96 DPI, and mixing files across versions can scale a design by about 6.7 percent. If a part imports slightly off-size for no obvious reason, that mismatch is usually why. Setting and confirming millimeter units on both ends is the cure.
How the laser reads strokes and fills
This is the concept that makes Inkscape click for laser users. A laser cuts and scores along strokes (the outline of a path) and engraves fills (the solid interior). So for a cut line you want a thin stroke and no fill; for an engraved solid you want a fill. LightBurn then maps each color to a Line or Fill operation.
I set cut lines to a hairline stroke — the actual width does not matter to the cut, since the laser follows the path centerline, but a thin stroke keeps the drawing readable. The colors are what organize the job: I use one color for cut paths, another for score lines, and another for anything that engraves, exactly mirroring the layer scheme I use in LightBurn. The vector-versus-raster logic behind that split is in vector vs raster for laser engraving.
Color-coding operations the way LightBurn expects
Because LightBurn imports each distinct color as its own layer, the cleanest workflow is to decide your color scheme in Inkscape and stick to it across every project. Pure red for cut-through, blue for score, black for engrave is a common convention, but any consistent scheme works as long as you use it the same way every time. When the file lands in LightBurn, each color is already a separate layer waiting for its power and speed.
The payoff is that a complex mixed job — say a box with engraved labels and cut slots — arrives pre-organized. You are not untangling which shape does what; you set three layers and run. Keeping that discipline in the design tool is what turns a chaotic file into a two-minute setup at the machine.
Tracing a logo with Trace Bitmap
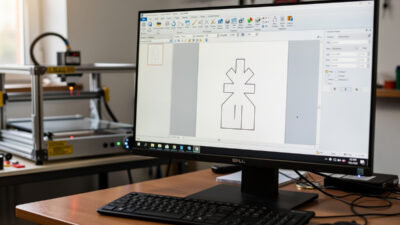
Inkscape’s Path → Trace Bitmap turns a raster image into vector paths, which is the right tool for converting a clean logo or piece of line-art into something cuttable or scoreable. For a high-contrast black-and-white logo it works beautifully — one pass of brightness-cutoff trace gives you a clean outline you can cut or score.
The limit is the same one that applies everywhere: do not trace a photograph. A portrait run through Trace Bitmap becomes thousands of overlapping paths that engrave as noise and choke the file. Photos belong in raster engraving, prepared as described in preparing photos for laser engraving. After any trace, I clean up stray nodes — Inkscape’s node editor and the LightBurn node editing guide both handle that.
Text: always convert to path
Before saving any file with lettering, select the text and use Path → Object to Path. This converts live text into outlined geometry so it no longer depends on the font being installed. Skip this step and your carefully chosen typeface can substitute or vanish when the file opens somewhere else — the single most common reason engraved text comes out wrong.
For cut-out letters, watch for floating islands: the centers of letters like O, A, and e fall out unless you bridge them to the surrounding material or weld the letters together. Inkscape’s Union and difference operations under the Path menu are how you build those bridges and stencils.
Exporting a clean SVG for the laser
When the design is done, I save as a plain SVG and confirm the dimensions one last time. The big thing to check is that the geometry exported as paths, not as an embedded raster preview, and that the page size still reads in millimeters. If you used Trace Bitmap, make sure the original raster image is deleted from the file so you are not shipping both the bitmap and its trace.
Then it goes into LightBurn, where the first thing I do is verify the imported part is the size I expect. The SVG format quirks and the scale check are covered in more depth in SVG files for laser cutting. If the import is off-size, it is almost always the units or the DPI mismatch from earlier, not a corrupt file.
The Inkscape-to-laser mistakes I see most
A handful of issues account for nearly every Inkscape file that fails at the machine. Leaving units in pixels instead of millimeters scales the part wrong. Forgetting Object to Path drops the text. Leaving a fill on a shape you meant to cut makes the laser try to engrave it. Double-stamped paths — two outlines on top of each other from a careless duplicate — cut twice and char the edge. And stray sub-paths or open loops break fills and leave gaps.
None of these are hard to fix once you know to look. I run a quick check before export: units in millimeters, text outlined, fills and strokes assigned to the right operations, no duplicate paths, and the page sized to the job. Two minutes of checking in Inkscape saves a ruined sheet at the laser, the same prevention-over-repair habit that runs the whole workshop — right alongside air assist on every cut and never leaving a job unattended.
Frequently Asked Questions
Is Inkscape good for laser cutting and engraving?
Yes. Inkscape is free, exports clean SVG that most laser software expects, and has a real node editor for fixing paths. It is excellent for designing cut lines, scoring, text, and tracing logos. Pair it with LightBurn, which drives the machine and handles photo dithering.
How do I set up Inkscape for a laser?
Open Document Properties and set units to millimeters, then size the page to your working area. Use thin strokes with no fill for cut lines, fills for engraving, and a consistent color per operation. Convert text to paths before saving and export as a plain SVG.
How does a laser read strokes versus fills in Inkscape?
A laser cuts and scores along strokes, the outline of a path, and engraves fills, the solid interior. So a cut line needs a thin stroke and no fill, while an engraved solid needs a fill. LightBurn then maps each color to a Line or Fill operation.
Why does my Inkscape file import at the wrong size in LightBurn?
Almost always a units or DPI mismatch. Set the document to millimeters in Inkscape and confirm the part size in LightBurn on import. Older Inkscape used 90 DPI versus the modern 96 DPI standard, which can scale a design by about 6.7 percent.
Can I trace a photo in Inkscape for engraving?
No. Trace Bitmap works for clean high-contrast logos and line-art, turning them into cuttable vector paths. A photograph traced this way becomes thousands of paths that engrave as noise. Prepare photos as raster images and engrave them with dithering in LightBurn instead.
Do I need to convert text to paths in Inkscape?
Yes, always. Use Path then Object to Path before saving so the lettering becomes outlined geometry independent of any installed font. If you skip it, the typeface can substitute or disappear when the file opens elsewhere, which is the most common cause of wrong engraved text.