CO2 Laser Mirror Alignment Guide: Corner-to-Corner Method
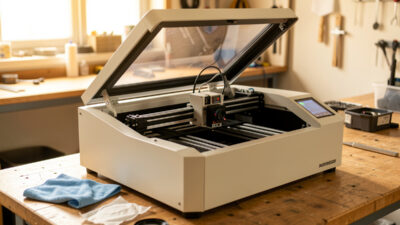
If your CO2 laser cuts clean at the front-left of the bed and weak at the back-right, the beam is not landing dead-center through your mirrors — it is clipping. On the OMTech Polar 350 I run, a full mirror alignment takes me about ten minutes once the machine is open, and it restores more apparent power than any setting change in software ever will. Alignment is the CO2 ritual a diode owner never has to learn, and it is the first thing I check before blaming a tube.
This guide walks the complete corner-to-corner alignment I do on a desktop CO2 machine: how the beam path works, how to read masking-tape pulse marks, and which screw moves the dot which way. It is part of my broader laser maintenance guide, and it pairs directly with cleaning the mirrors and lens — align dirty optics and you are aiming a weak beam.
How the CO2 beam path works
A CO2 tube fires from a fixed position, but the cutting head moves all over the bed, so the beam has to be bent to follow it. That bending is done by mirrors — typically three on a desktop machine. Mirror 1 sits at the back near the tube, Mirror 2 rides the moving gantry, and Mirror 3 sits on the head directly above the focusing lens. The beam reflects 1 to 2 to 3 and then drops through the lens onto the work.
The whole job of alignment is making the beam strike the center of every mirror at every position the head can reach. Because the gantry moves, the distance from Mirror 1 to Mirror 2 changes constantly, and if Mirror 1 is even slightly off-angle, the dot walks across Mirror 2 as the head travels — perfect in one corner, clipping the edge in another. That walking dot is the entire problem alignment solves.
| Mirror | Location | What it controls |
|---|---|---|
| Mirror 1 | Back of frame, near the tube | Beam aim into the moving gantry; the biggest source of corner-to-corner walk |
| Mirror 2 | Left end of the moving gantry | Beam aim across to the head; affects left-right consistency |
| Mirror 3 | On the cutting head, above the lens | Final drop straight down through the lens center |
What you need before you start
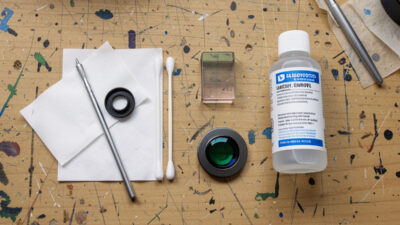
The tools are simple: a roll of masking tape, the lowest safe pulse power your machine will fire (enough to mark tape, not burn through it — I work in the low single-digit percent range), and the hex keys that fit your mirror mount set screws. Eye protection rated for your wavelength stays on the whole time. The beam is invisible on a CO2 machine, which is exactly why you must never put any part of yourself in the beam path and never fire with the lid interlock defeated.
Set the work area to a safe, repeatable state first. Lower the bed or remove material so a stray pulse hits nothing flammable, keep your extinguisher within reach, and confirm the exhaust is running. This is a power-on procedure with the covers off, so treat it with the same respect as any live-machine work — the full safety baseline is in my laser safety essentials guide.
The masking-tape pulse method, mirror by mirror
The core technique is the same at every mirror: tape over the receiving mirror, fire a single low-power pulse, and read where the burn mark lands. Center mark means the beam is hitting true; off-center means you adjust the previous mirror to move it. You always adjust the mirror the beam is coming from, never the one you are marking.
Start at Mirror 2. Move the head all the way to the near position (closest to Mirror 1), tape Mirror 2, and pulse. Mark that spot. Now move the head all the way to the far position and pulse again on fresh tape. If the two marks land in the same place, Mirror 1 is aimed correctly. If they have walked apart, adjust Mirror 1’s set screws and repeat until the near and far pulses stack on top of each other. This near-versus-far stacking is the heart of the whole job.
Once Mirror 2 receives a consistent dot everywhere, move to Mirror 3 on the head and do the same near/far test, this time adjusting Mirror 2 until the dot is consistent and centered. Finally, check that the beam drops cleanly through the lens center — a dot that is centered on Mirror 3 but the cut still looks off can mean Mirror 3 itself needs a small tilt so the beam goes straight down, not at an angle.
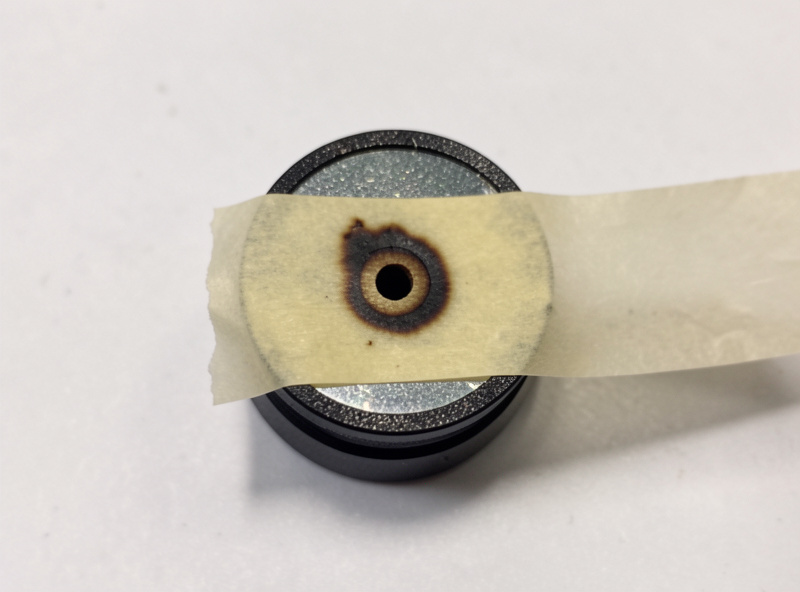
Reading the burn marks like a map
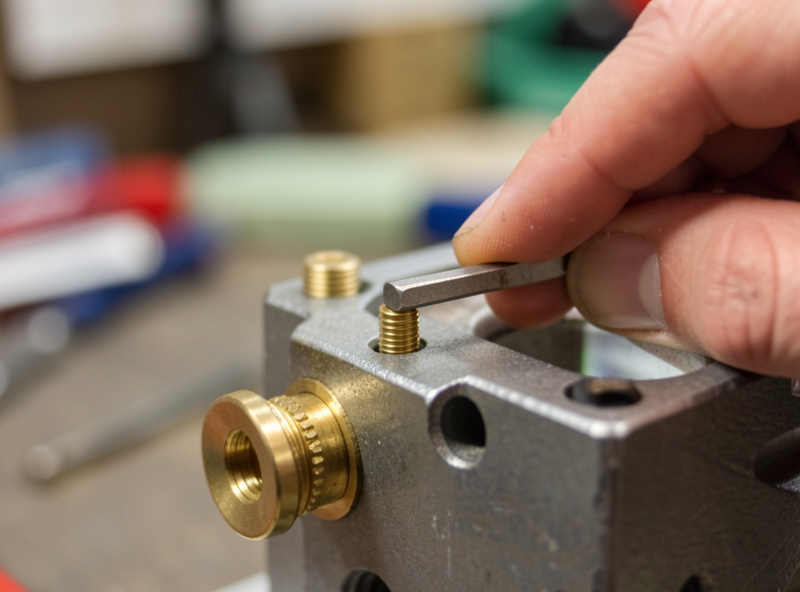
Each pulse mark is data. A faint, smeared, or doughnut-shaped mark usually means the beam is partly clipping an aperture or the mirror is dirty — stop and clean before you chase it with screws. A crisp round dot that simply sits off-center tells you exactly how far and which way to move the upstream mirror. The set screws work as a tripod: tightening one tilts the mirror and walks the dot in a predictable direction, so make small turns, a sixteenth at a time, and re-pulse after each.
Patience beats force here. I have watched people crank a screw a full turn, lose the dot off the mirror entirely, and decide the machine is broken. It is not — they overshot. Tiny adjustments, fresh tape, one variable at a time. When the near and far dots stack at every mirror and the beam drops straight through the lens, you are done, and the machine will cut with full power edge to edge.
When alignment is the wrong fix
Alignment drift is gradual — it creeps in over weeks of use, a bumped gantry, or after a hard head crash. If your cuts went weak overnight with no crash, suspect a dirty lens or fouled mirror first, because smoke residue mimics misalignment exactly. I always clean optics before I align; aligning a hazed mirror just locks in a weak beam. And if the cut is uneven in a way that tracks the mechanics — ghosting text, one axis dimensionally off — that is belt or frame, not mirrors, and it lives in my belt tension guide and frame squaring guide.
One more honest boundary: this is the desktop-CO2 procedure. The high-power industrial side — 100W-plus RF tubes, large-format beds, and the fixturing those shops run — uses the same principles but with more rigorous beam-combiner and red-dot-pointer setups than a desktop machine needs. Fiber and diode owners skip this page entirely; their maintenance lives in the diode module cleaning guide.
Frequently Asked Questions
How often should I align my CO2 laser mirrors?
On a desktop CO2 machine, check alignment monthly and any time you crash the head, move the machine, or notice cuts going weak in one corner of the bed. Alignment drifts gradually, so a routine monthly pass catches it before it ruins a job. Always clean the optics first.
Which mirror do I adjust if the dot is off-center?
Adjust the mirror the beam is coming from, not the one you are marking. To center the dot on Mirror 2, you adjust Mirror 1. To center it on Mirror 3, you adjust Mirror 2. The receiving mirror just shows you where the beam landed.
What power should I use for alignment pulses?
Use the lowest power that marks masking tape without burning through it, usually the low single-digit percent range on a desktop machine. You want a crisp readable dot, not a hole. Always keep the bed clear and an extinguisher within reach when firing with covers off.
My alignment is perfect but cuts are still weak. Why?
If the beam is centered on every mirror but cuts are weak, suspect a dirty or hazed lens, a tube losing output, or focus set wrong. Clean the lens, verify focus with a ramp test, and only then consider tube fade. A fouled lens mimics misalignment exactly.
Can I align a CO2 laser without defeating the safety interlock?
Yes, and you should. Pulse through the normal fire control with the head positioned and tape in place, keeping all body parts out of the invisible beam path. Never defeat a lid interlock to align. If your machine makes safe pulsing awkward, use its built-in pulse or test-fire function.
Why does my dot walk from corner to corner?
A walking dot means Mirror 1 is aimed slightly off-angle, so as the gantry travels and the beam distance changes, the dot drifts across the next mirror. Adjust Mirror 1 until a near pulse and a far pulse land in the same spot on Mirror 2. That stacking is the goal.